Project: Full scale remodel of back yard.
Location: Phinney Ridge
Fencing – Flagstone – Planters – Decking & Stairs
This installation was extensive and offered numerous challenges and opportunities. I’d like to take the reader through the project in a series of pictures, so that the you’ll get a sense of my creative process and how I approach and manage a project like this. Building anything is puzzling – meaning, it presents riddles at every turn. Where does the landscape flow from? Where do the softer points intersect with the sharp angles? How is a space built to have its own character and life? It seems like any space has a preferred state of rest – finding that is my challenge.
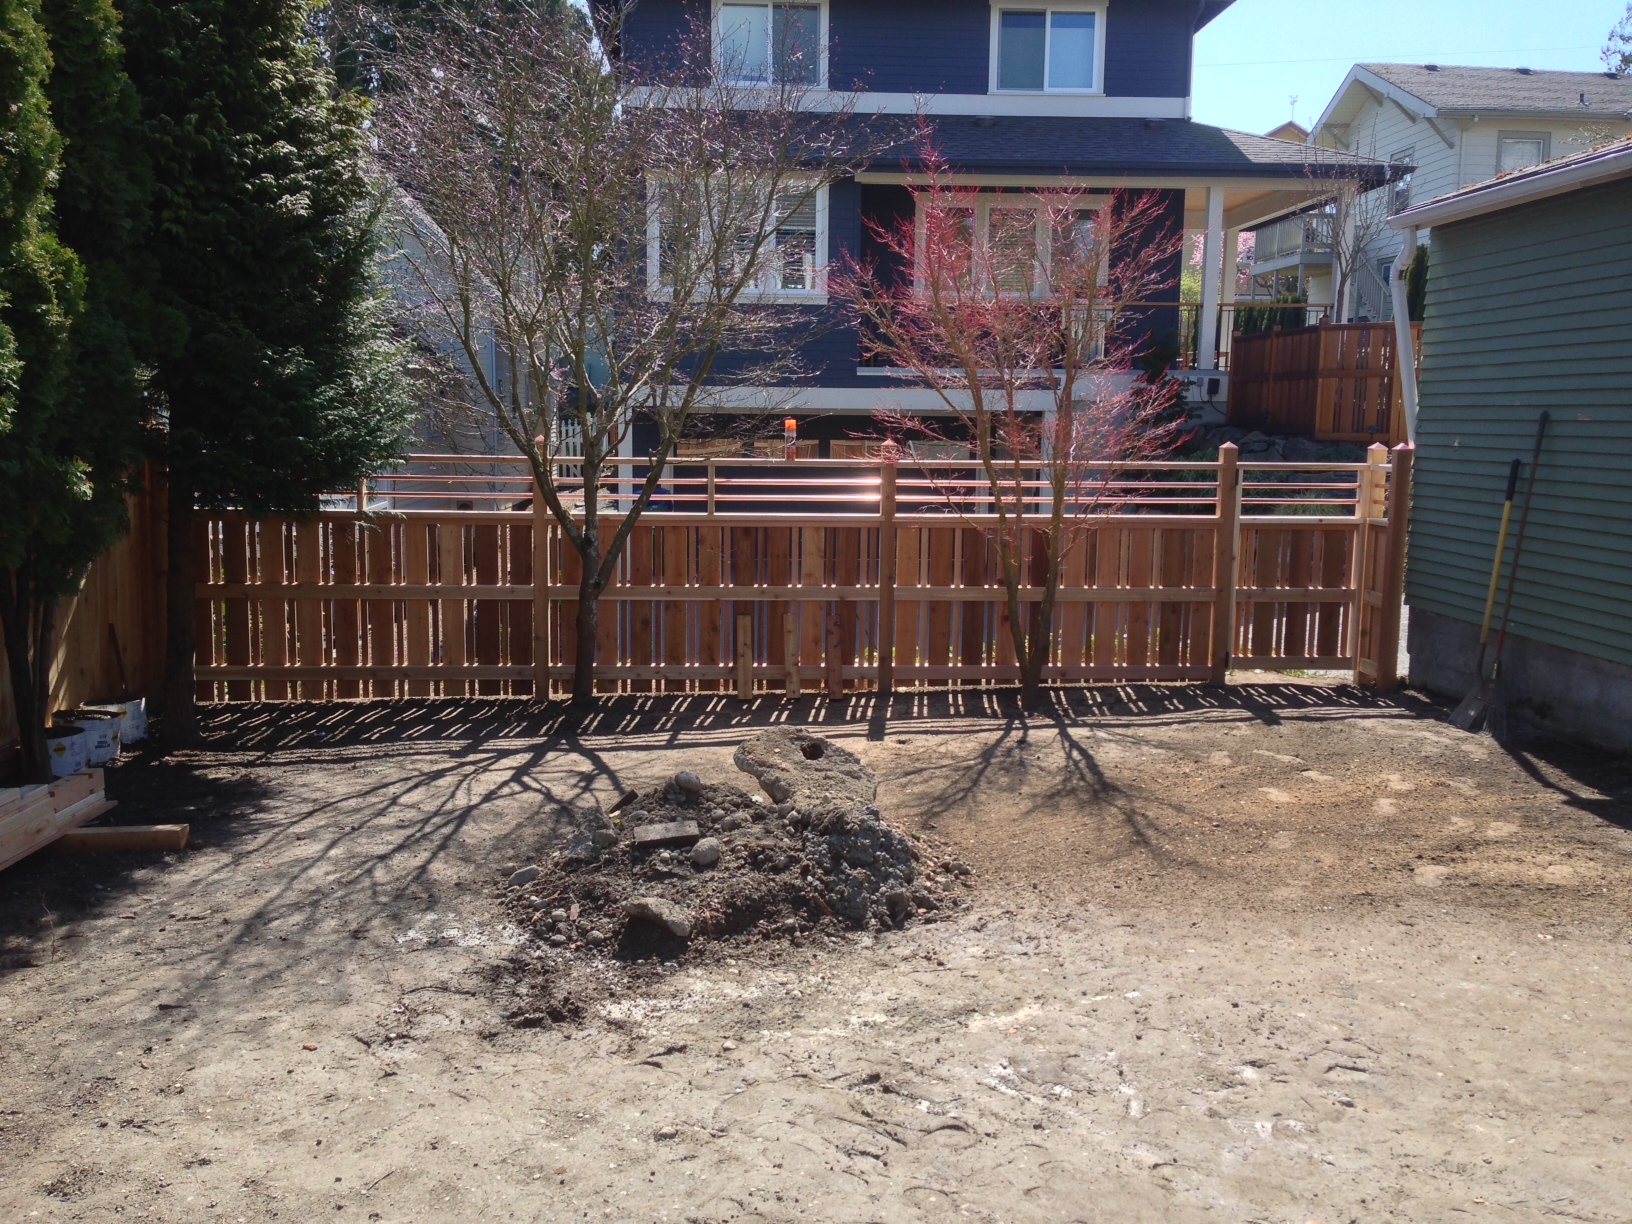
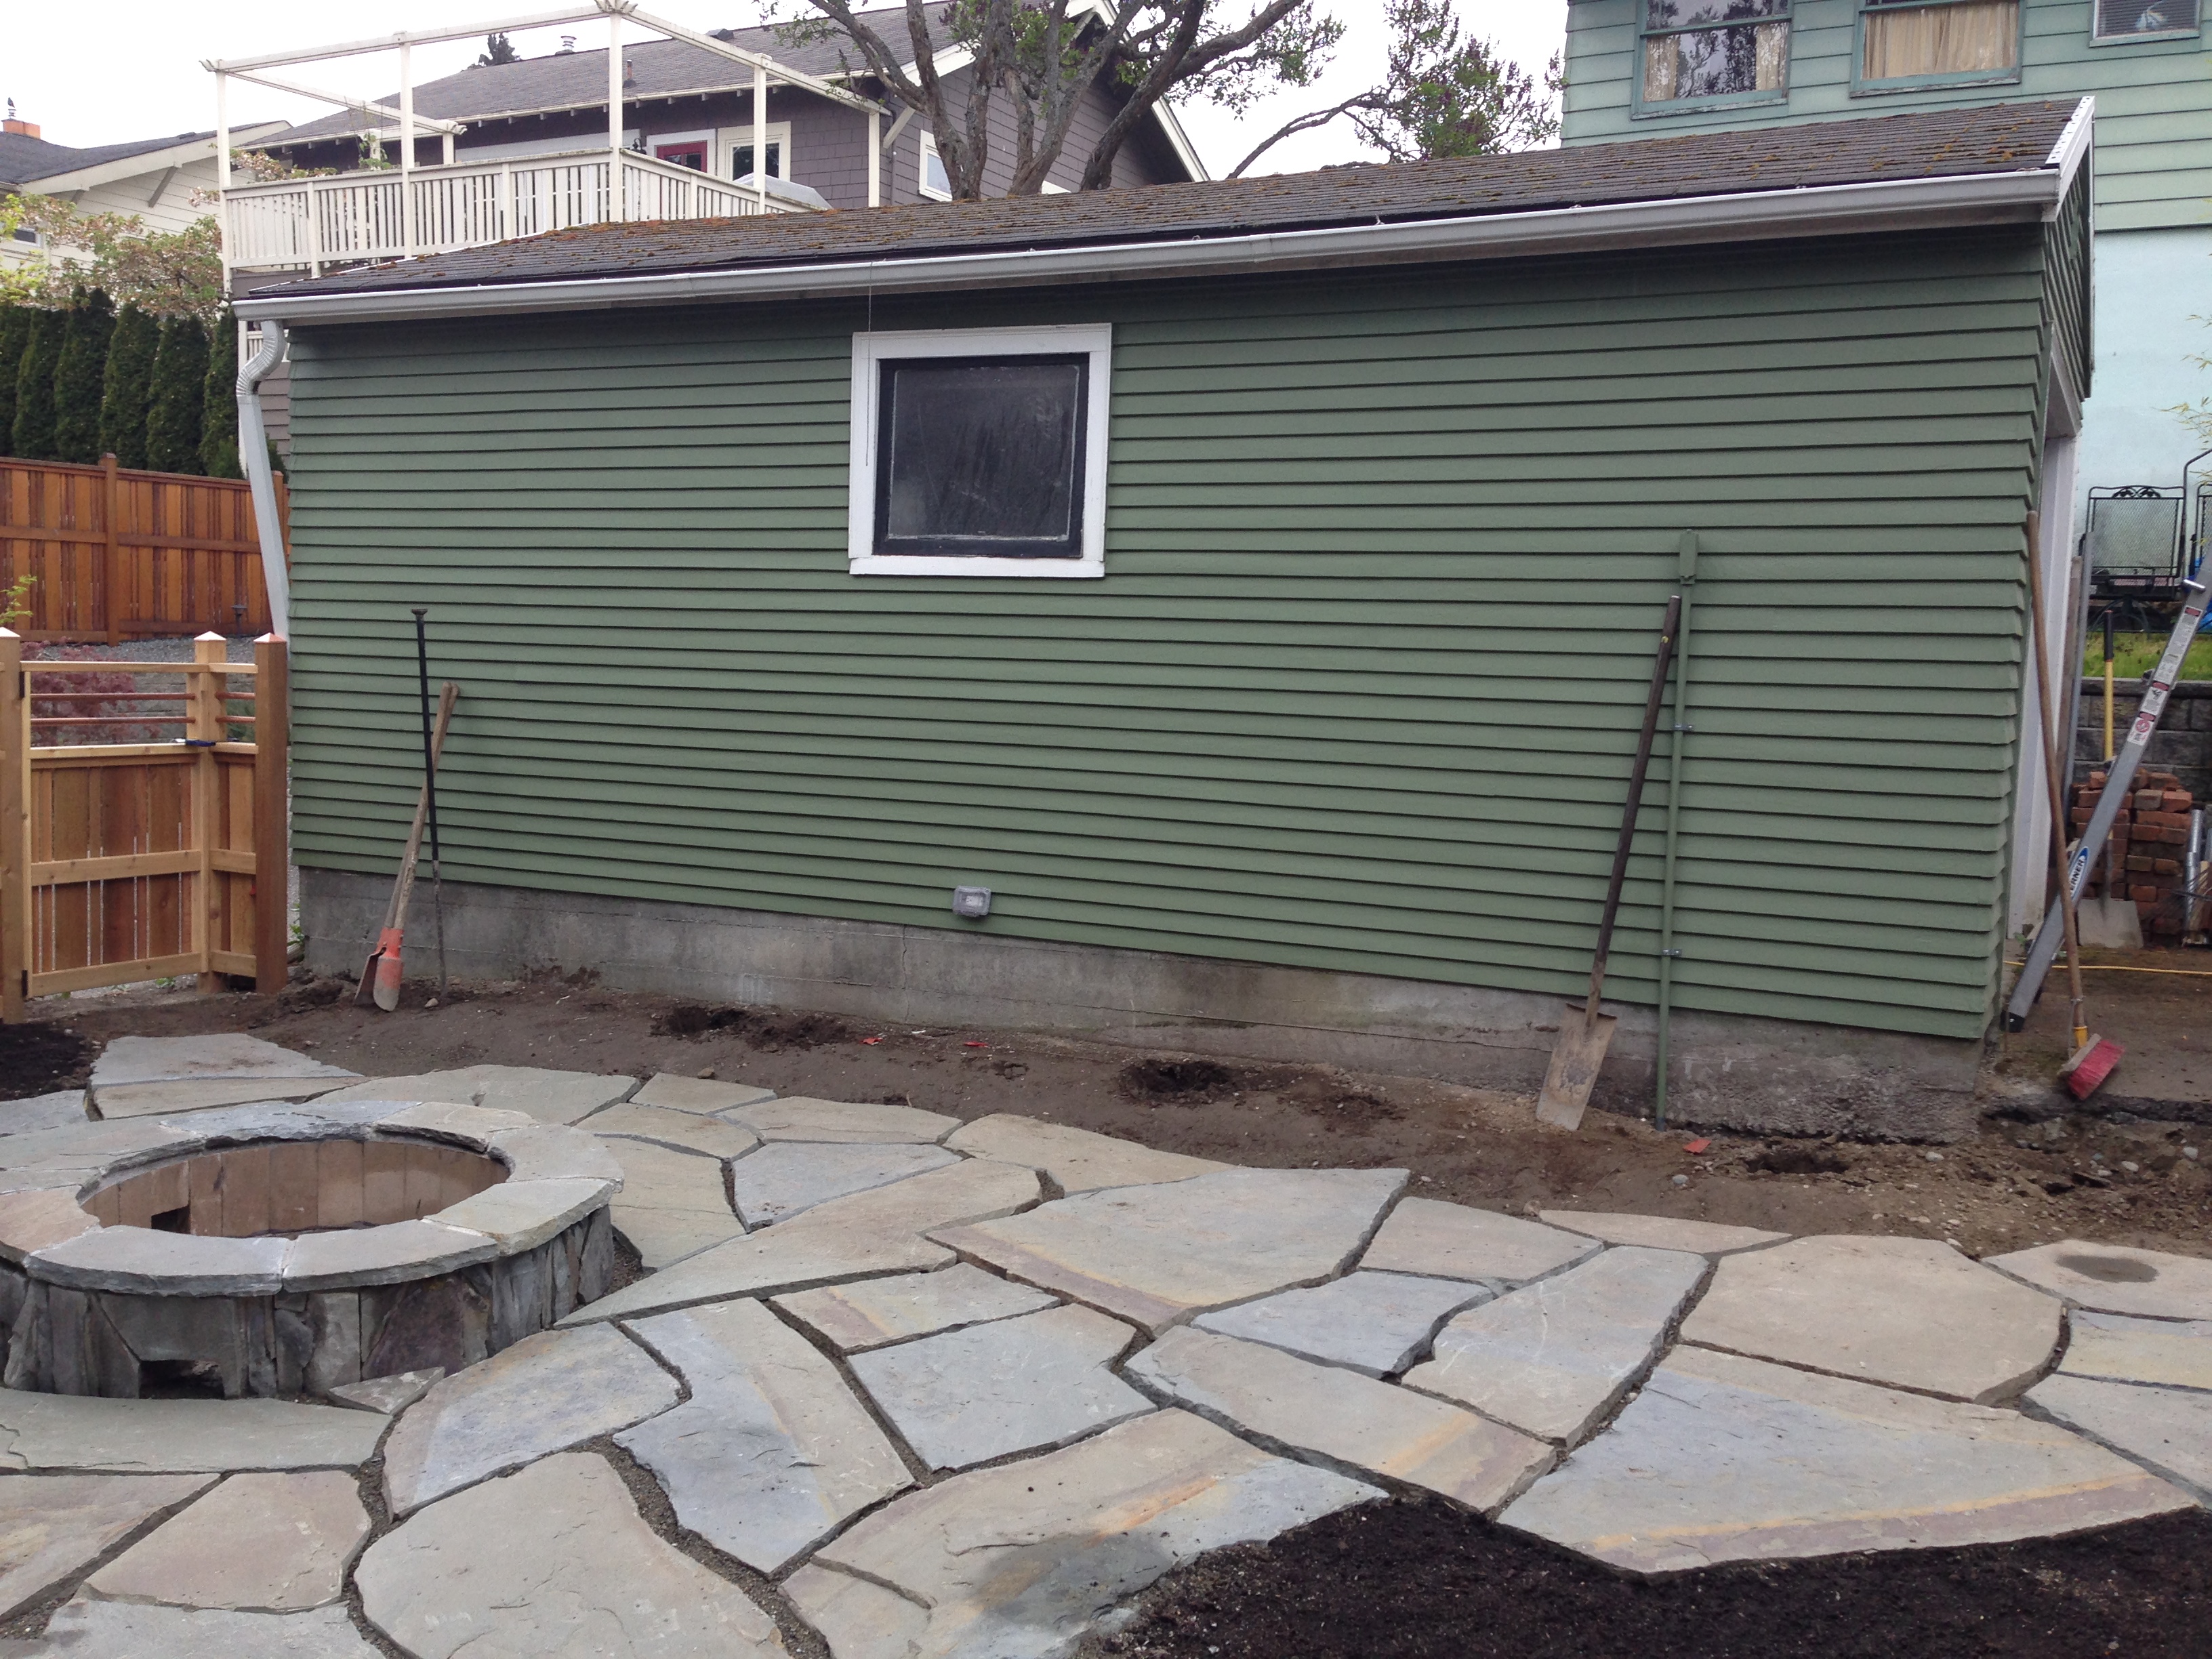
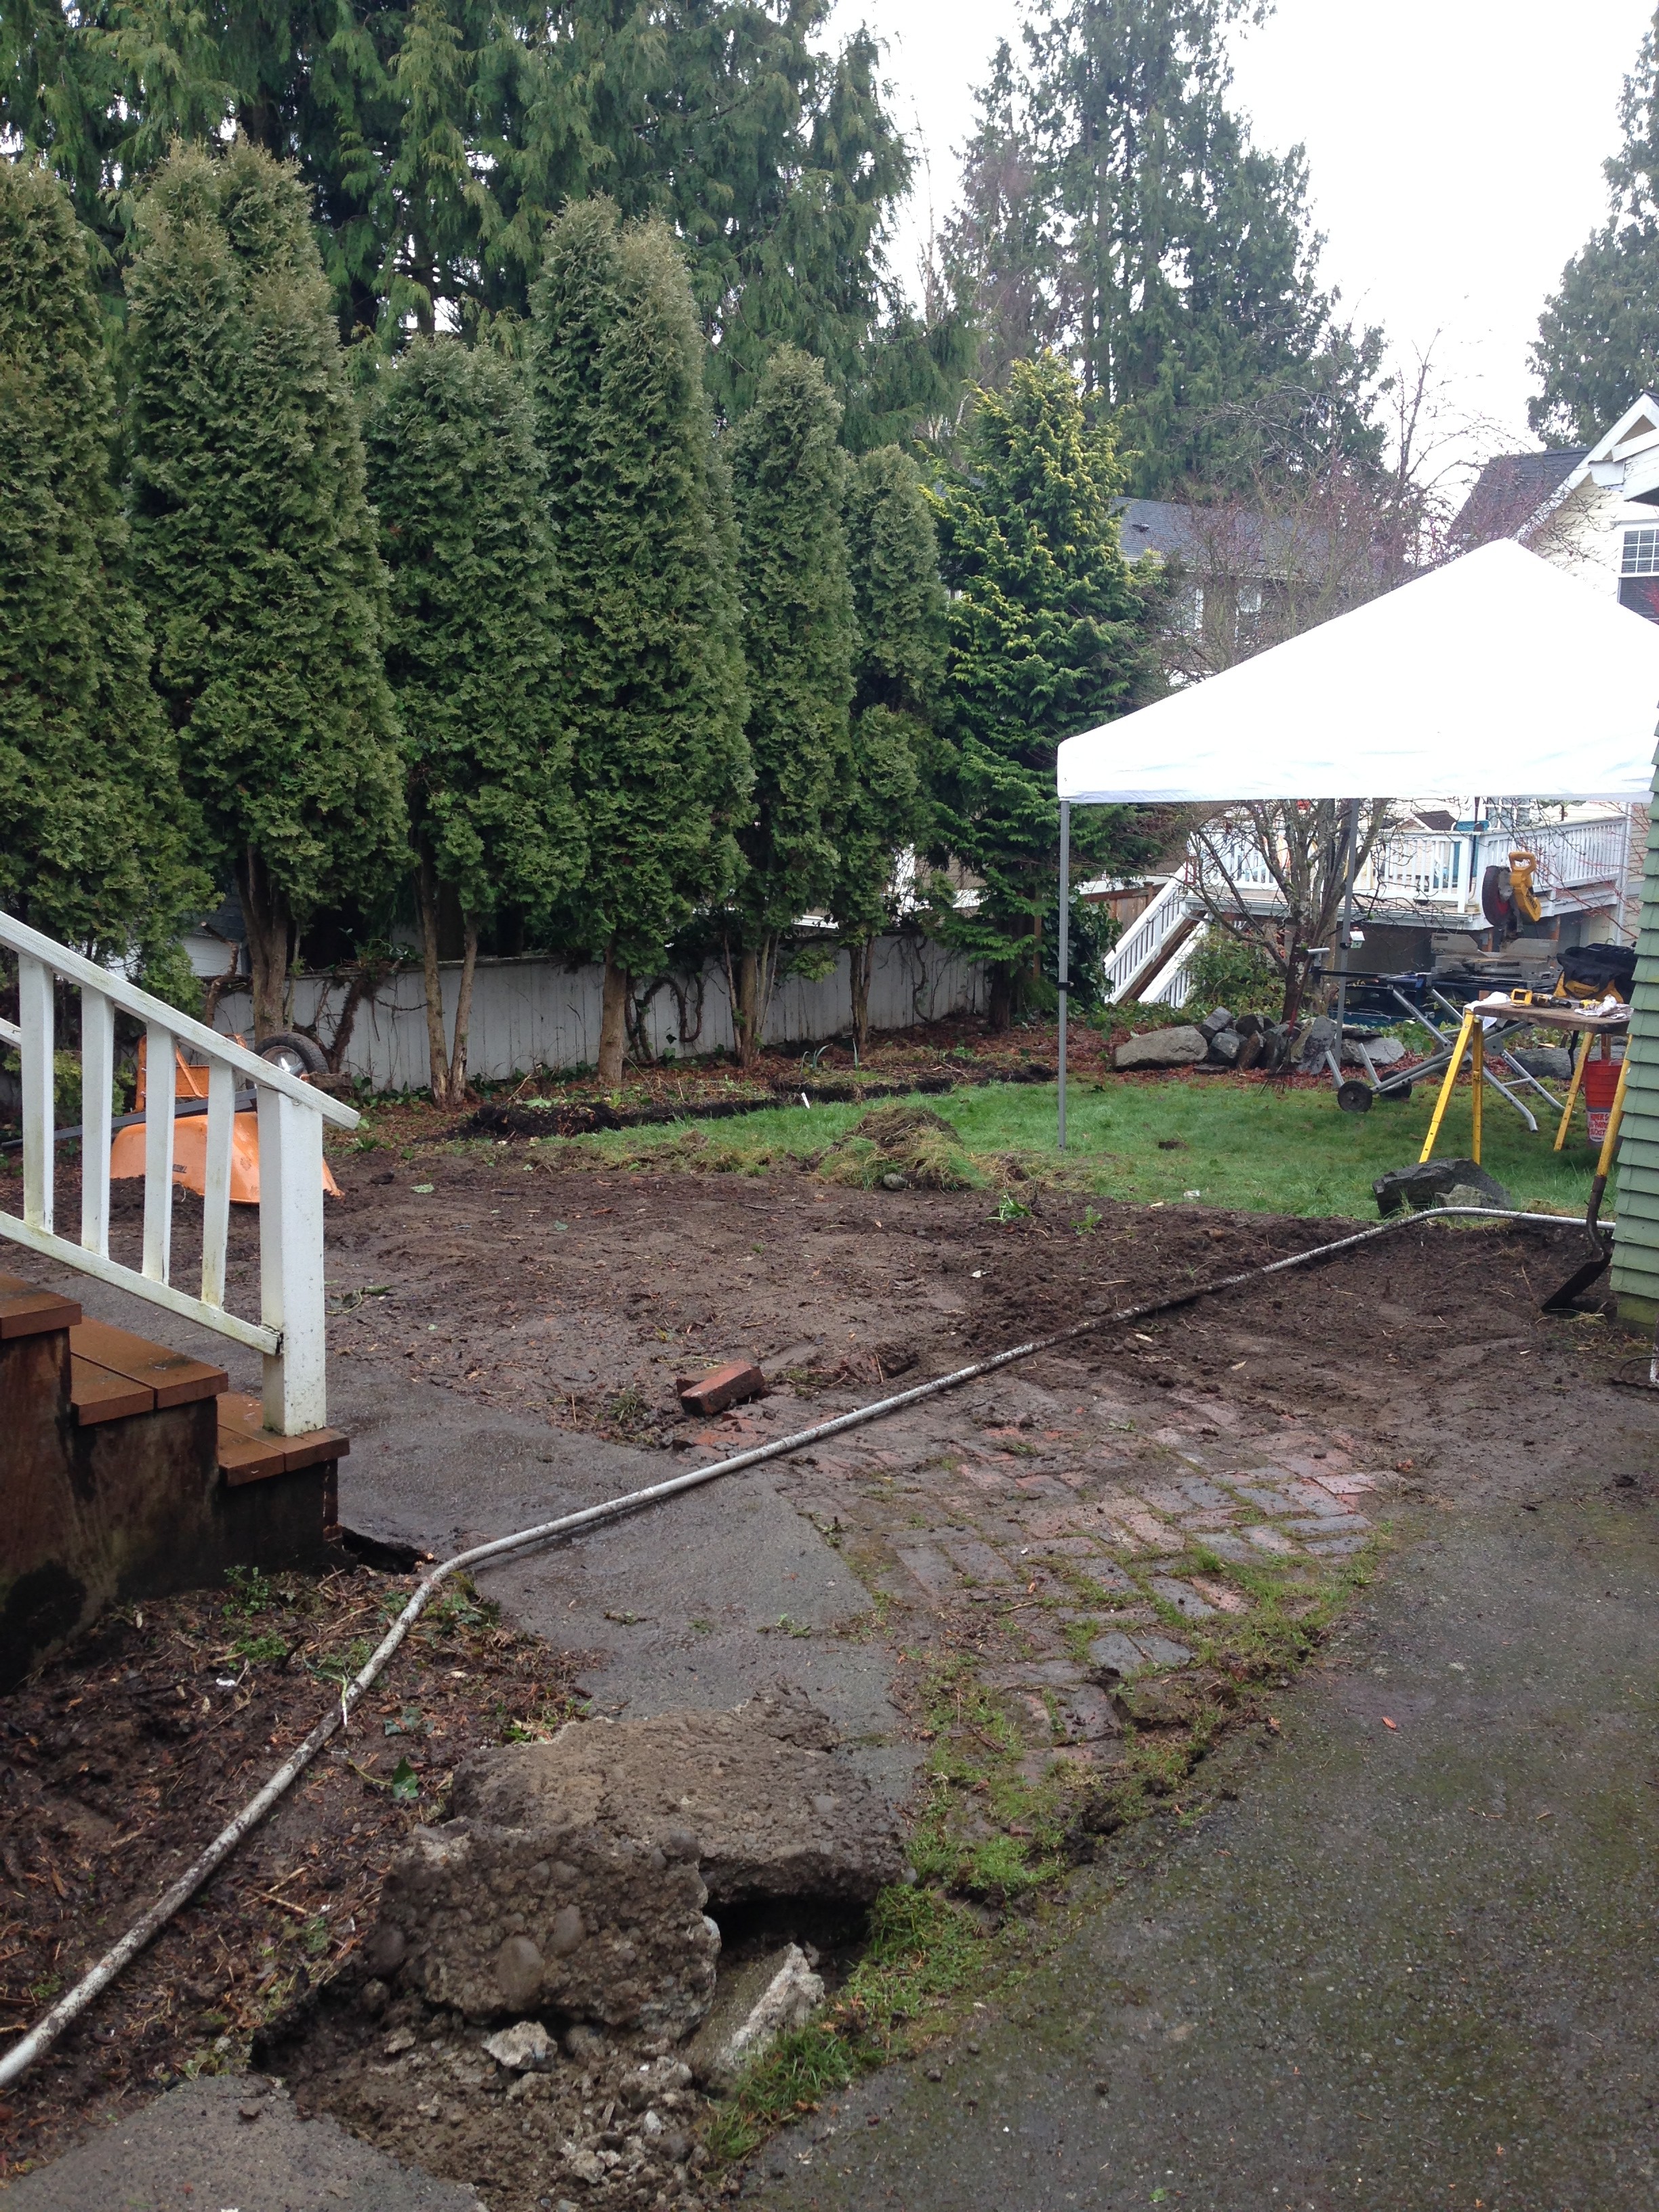
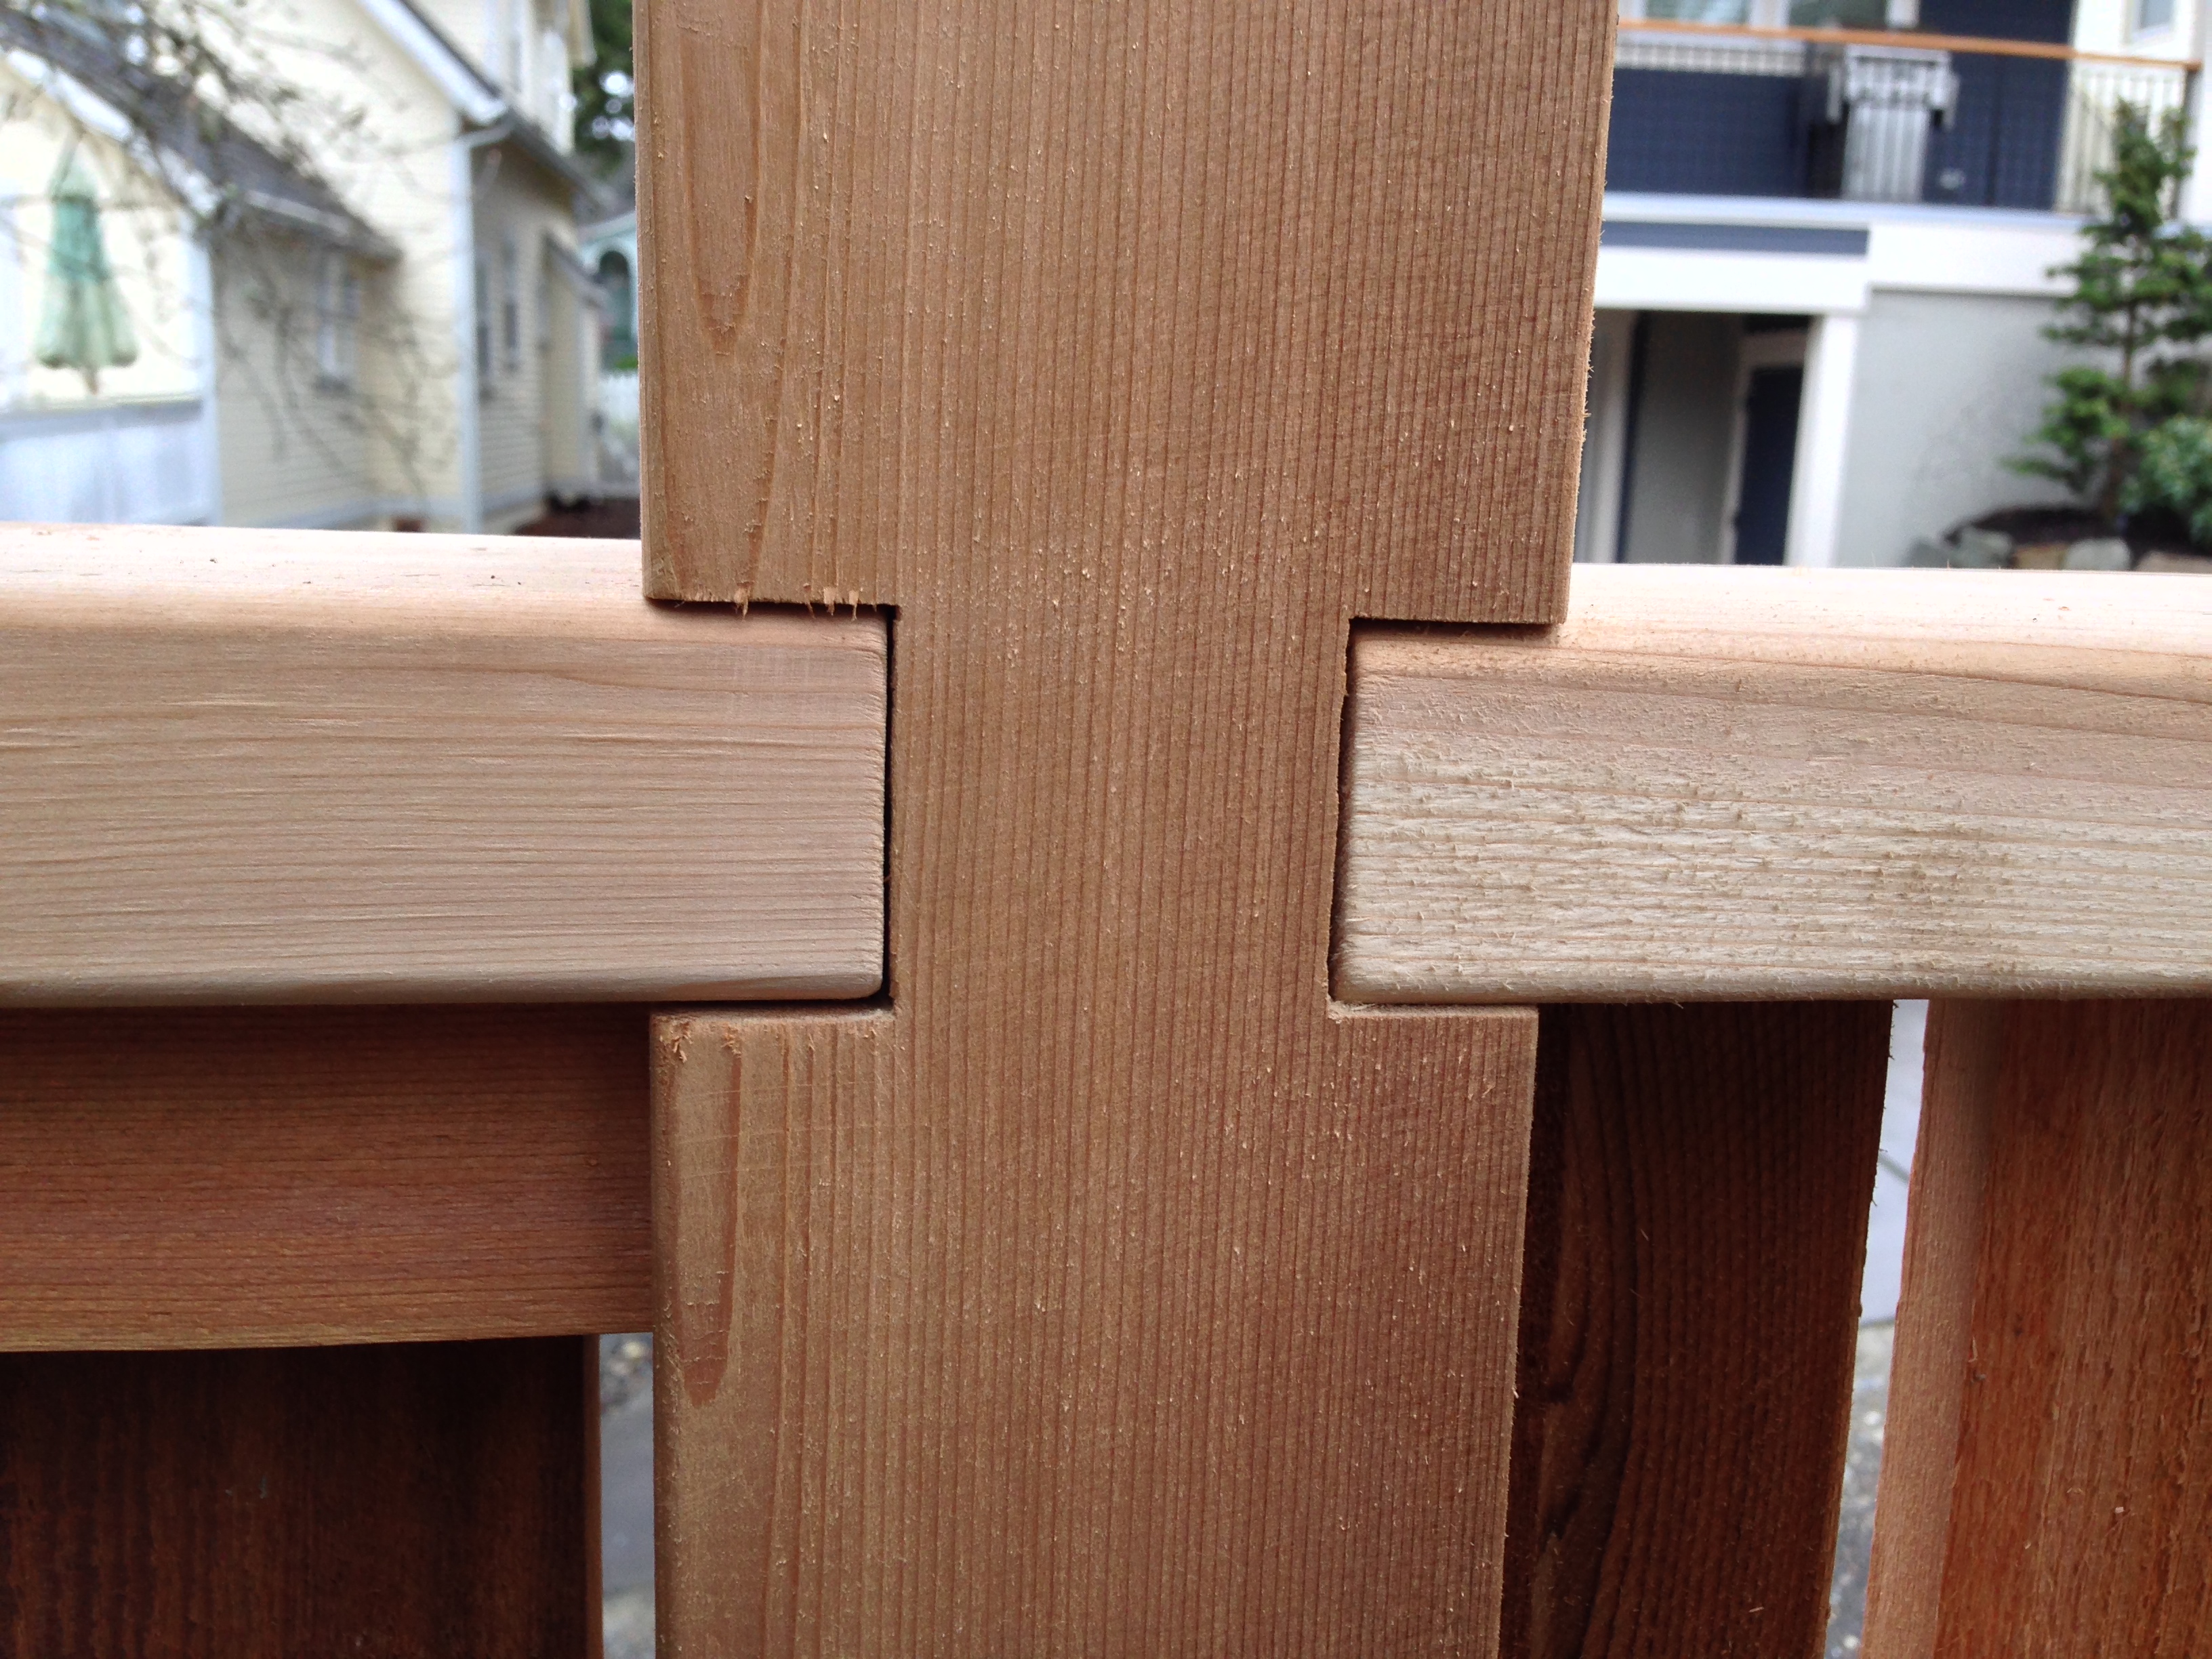 I started this project by demoing the fences, which included a number of buried posts from the previous ones. The fence stringers were mortised into each post and two 1 1/2″copper pipes were set between the top and middle plates. Each post had to be attached to its tenon prior to cementing. Pulling the fence post onto the pipes and stringers required a ratchet tie down. It surprisingly worked like a charm. After finishing the fences, I concluded the removal 15 cubic yards of soil from the site. Many truck loads exported by hand in the wet and cold Seattle winter. It becomes its own meditation after a time. This is the state of the yard when the grading is nearly completed.
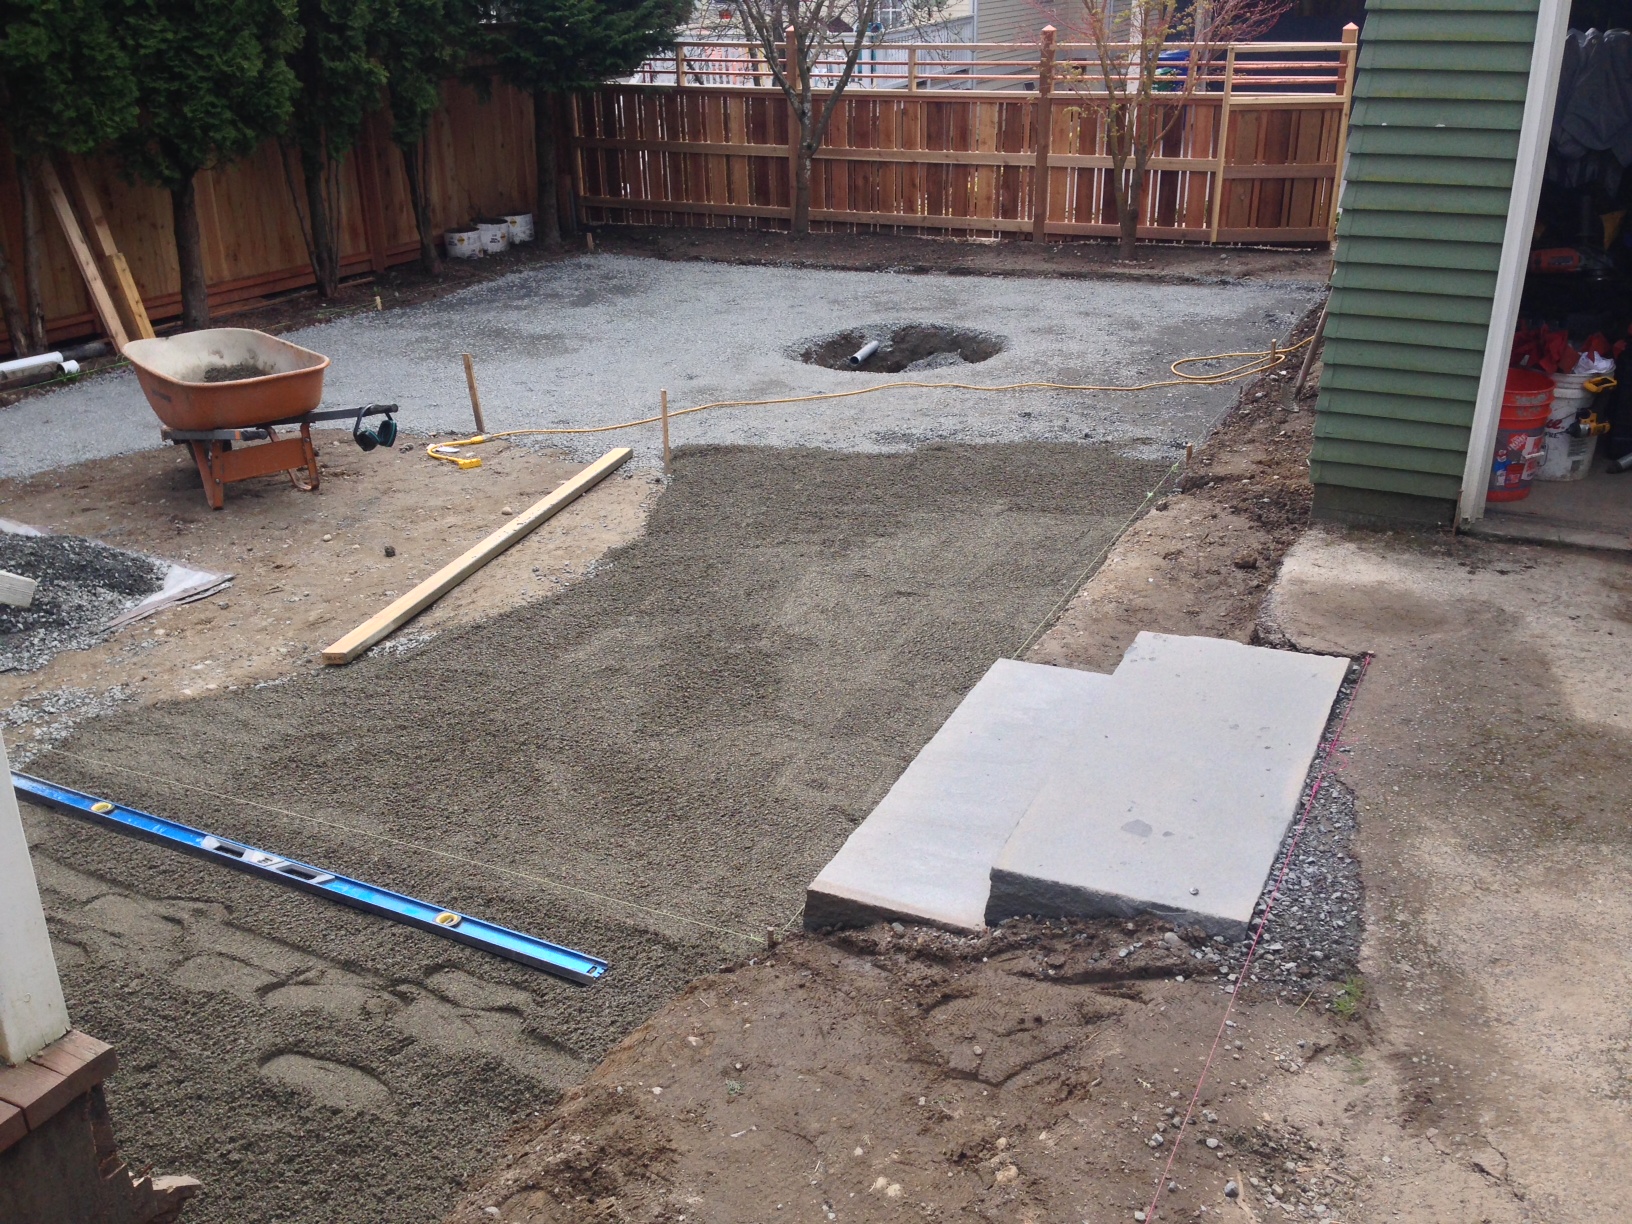
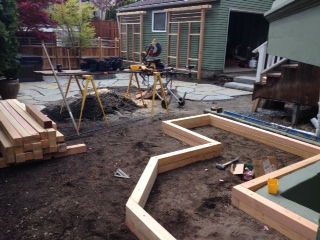
This picture shows the finished grading prior to the construction of the patio or the fire pit. It shows the 5/8 minus covered with a 1″ layer of 1/4 minus graded for a screed layer. All aggregate was purchased from Dirt Exchange in Ballard – the guys there are more than helpful for the DIY’ers out there, as they can deliver any product directly to you.
The two steps are from Marenakos – they’re Pennsylvania blue to match the patio flagstone. I installed the risers first so that the entrance grade to the back yard would be set. You’ll notice the initial cutout for the fire pit and the circle where the future lawn is going to go.
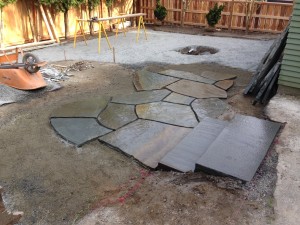
 The flagstone was purchased from Pavingstone Supply Co. in Ballard. I cut each piece as I laid it – 3 diamond blades were used during installation. I installed half of the patio and then set the fire pit grades and finished that prior to continuing.
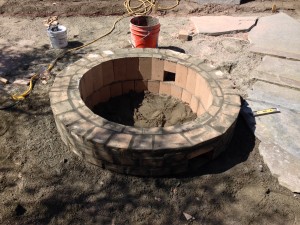
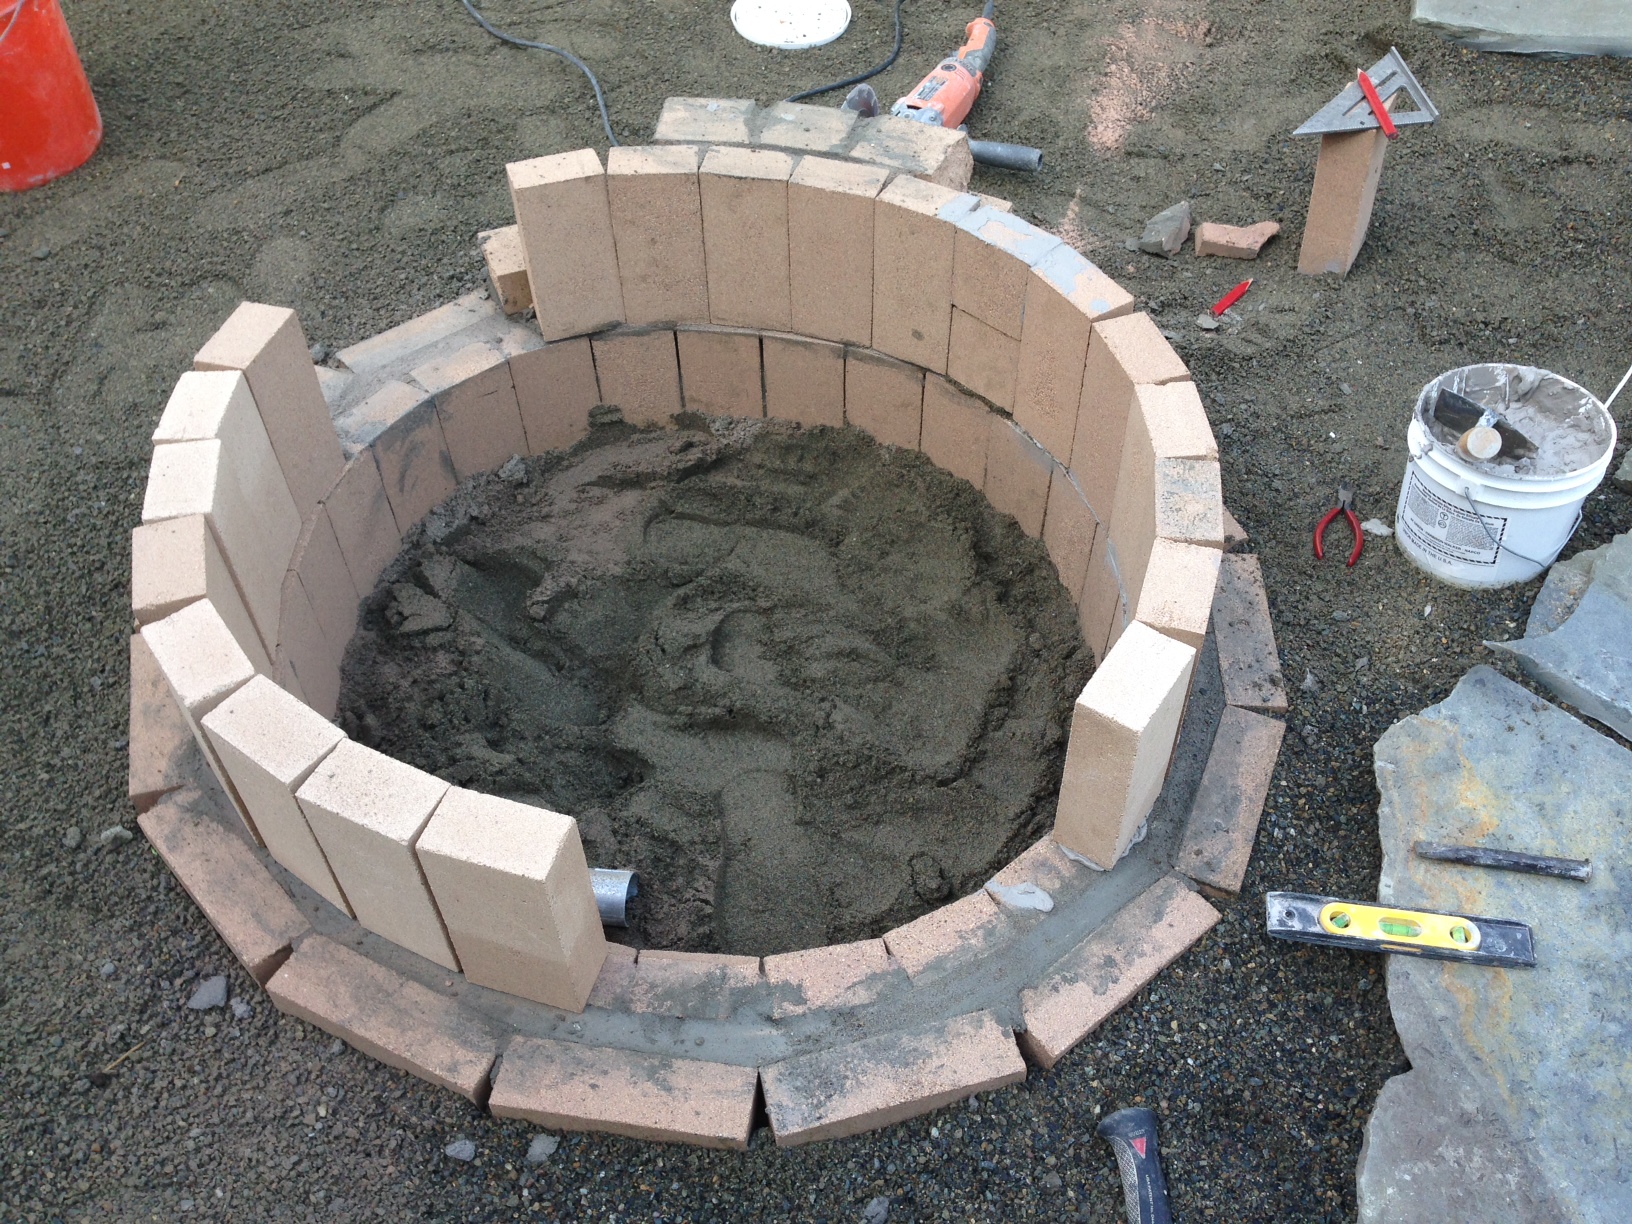
The fire pit was first set by installing a deep footer for the firebrick. Two levels of brick were used to get the height right, and the outside was faced with flagstone ends from the patio construction.
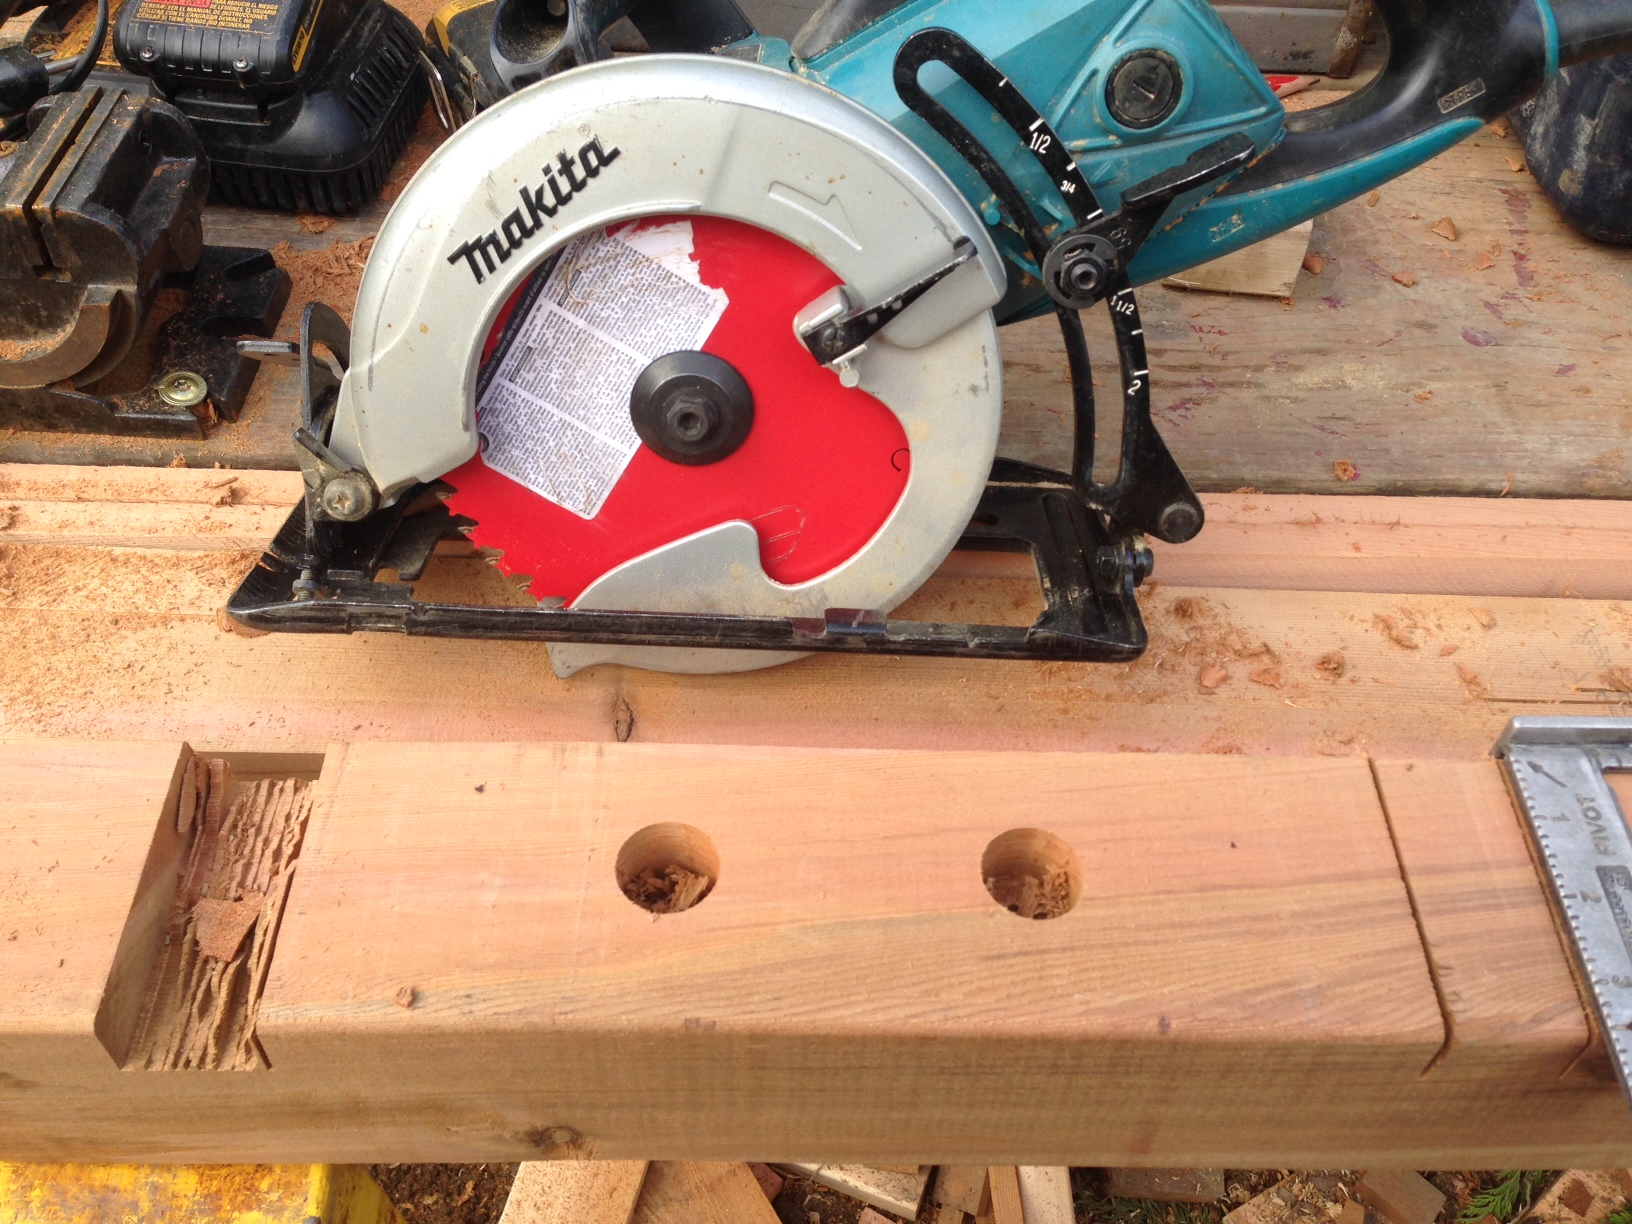
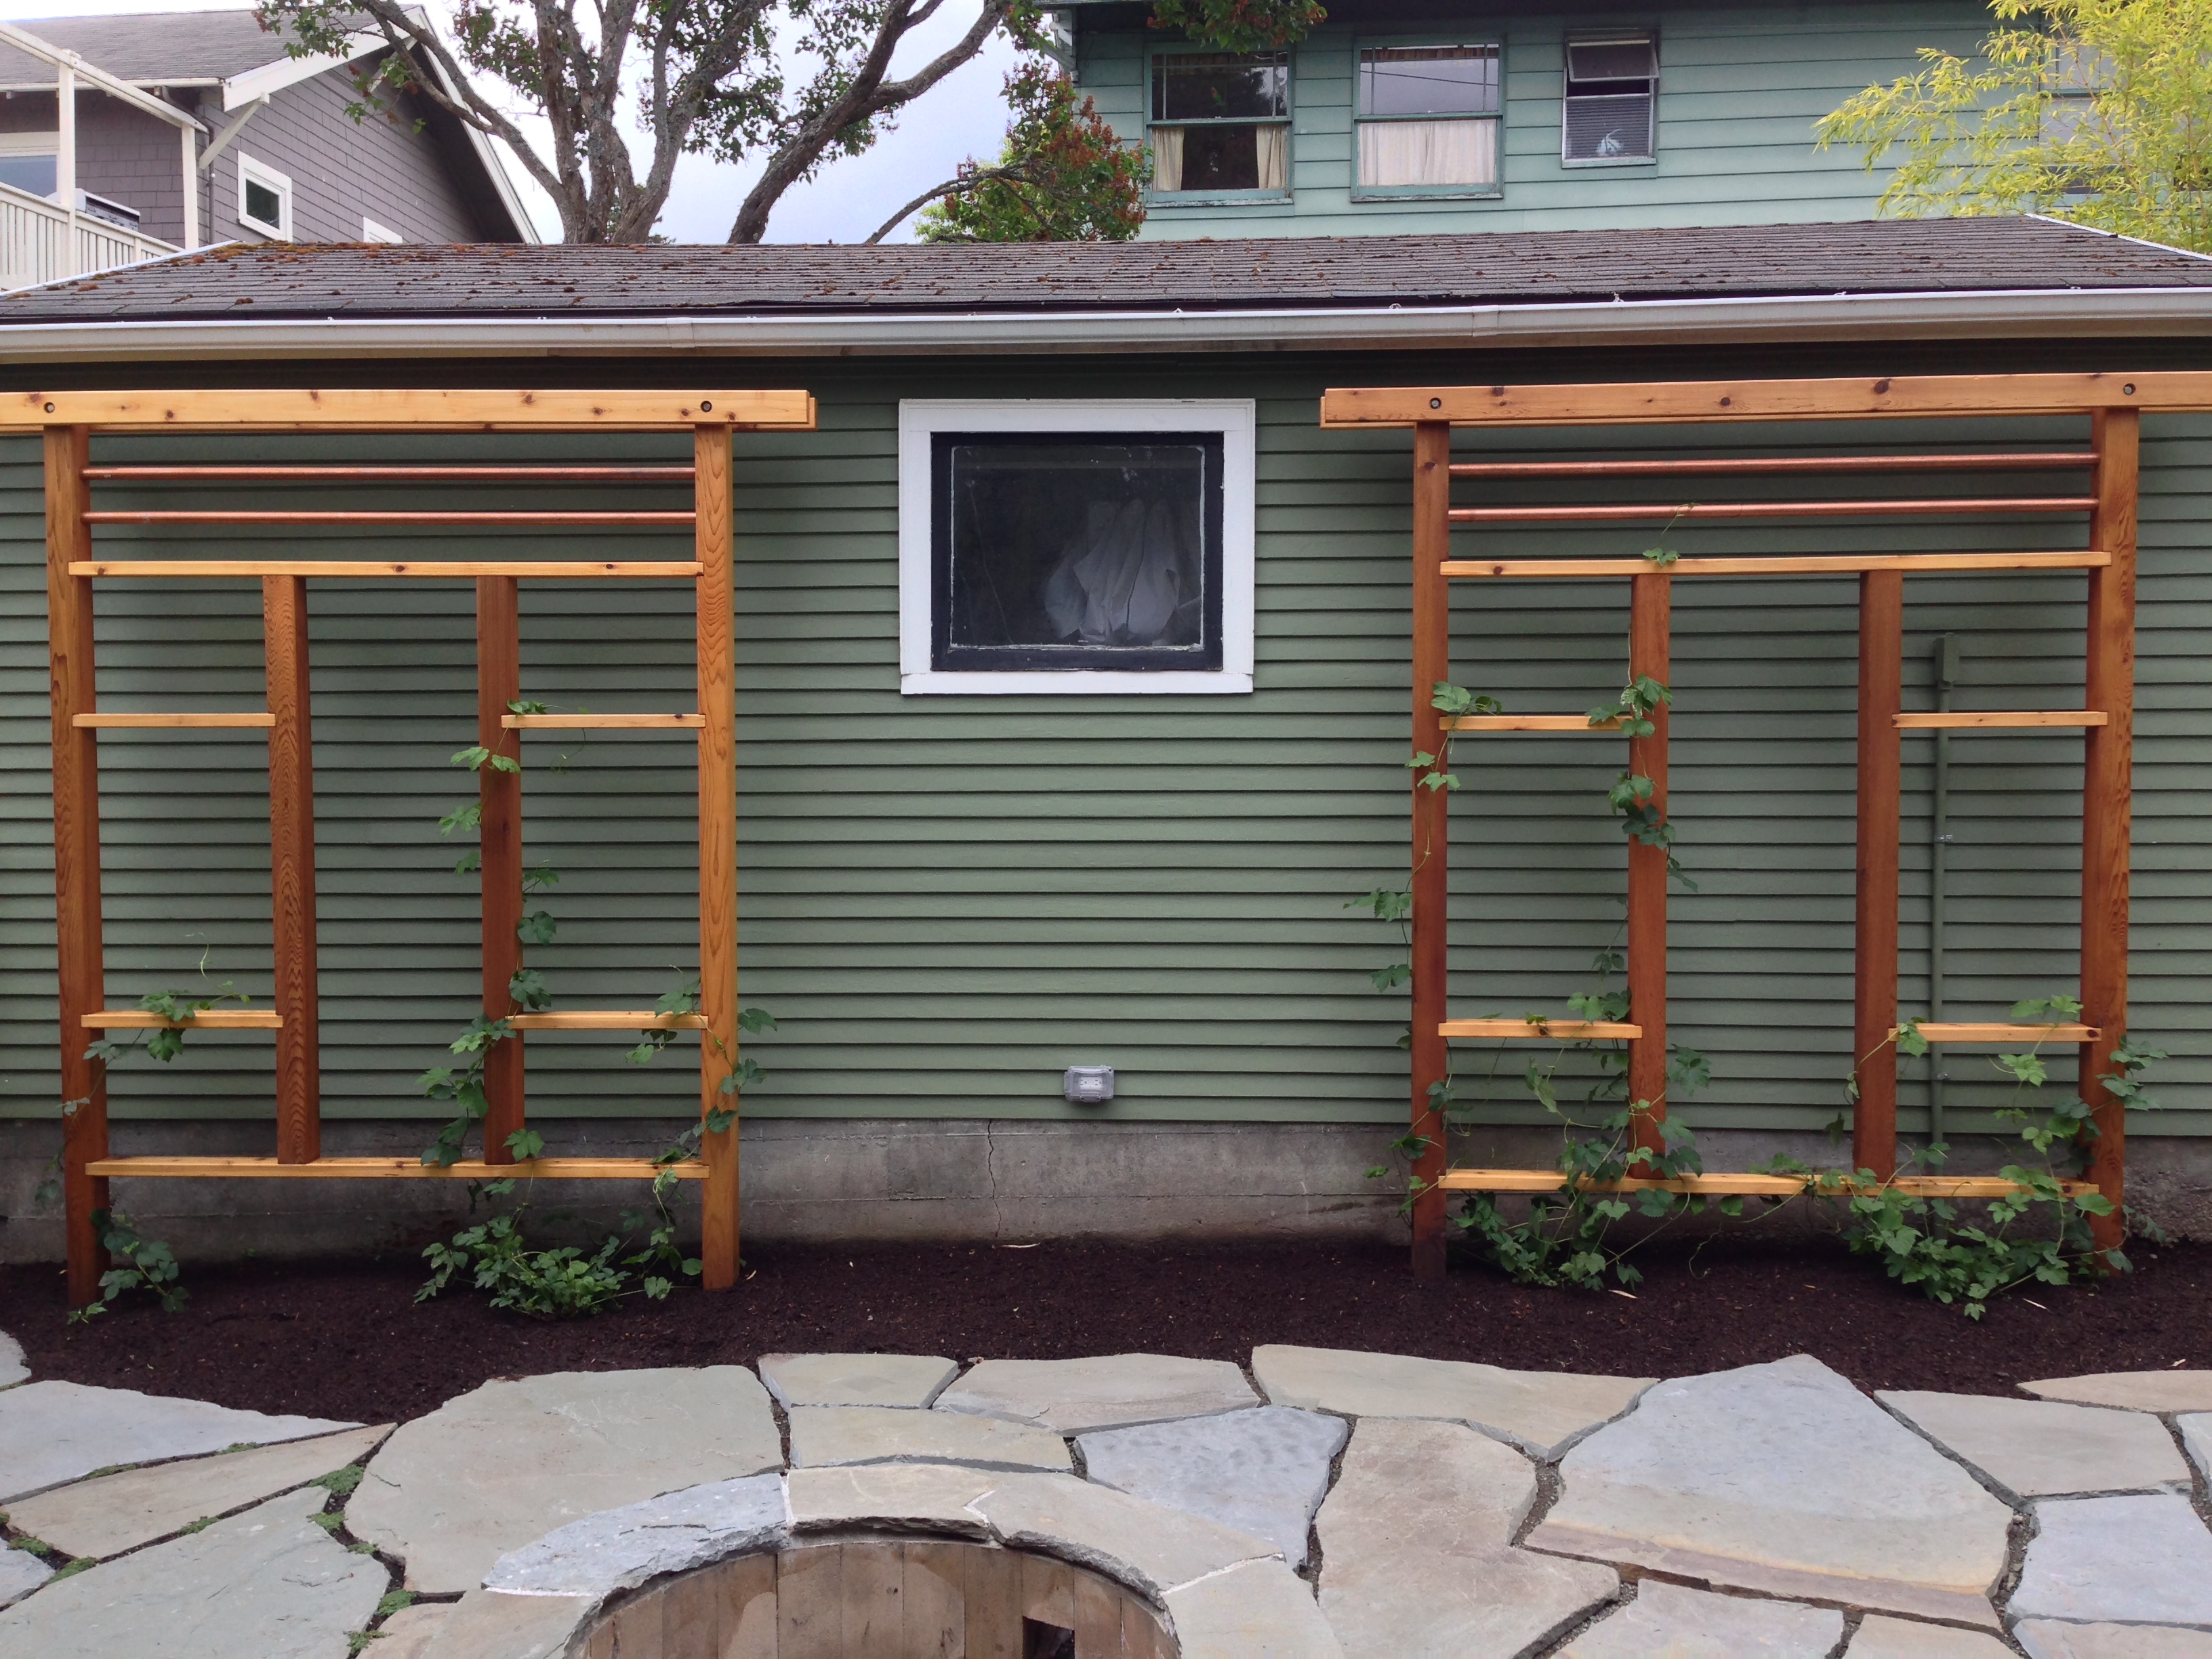 Once the patio was finished, I constructed two identical trellises. These trellises were built around 4 12′ cedar posts, with two 2×4 cedar and two 1 3/8″ copper pipe stingers, with a double plate of 2×4’s at the top. The design was the customers and fit really well the design of the fence.
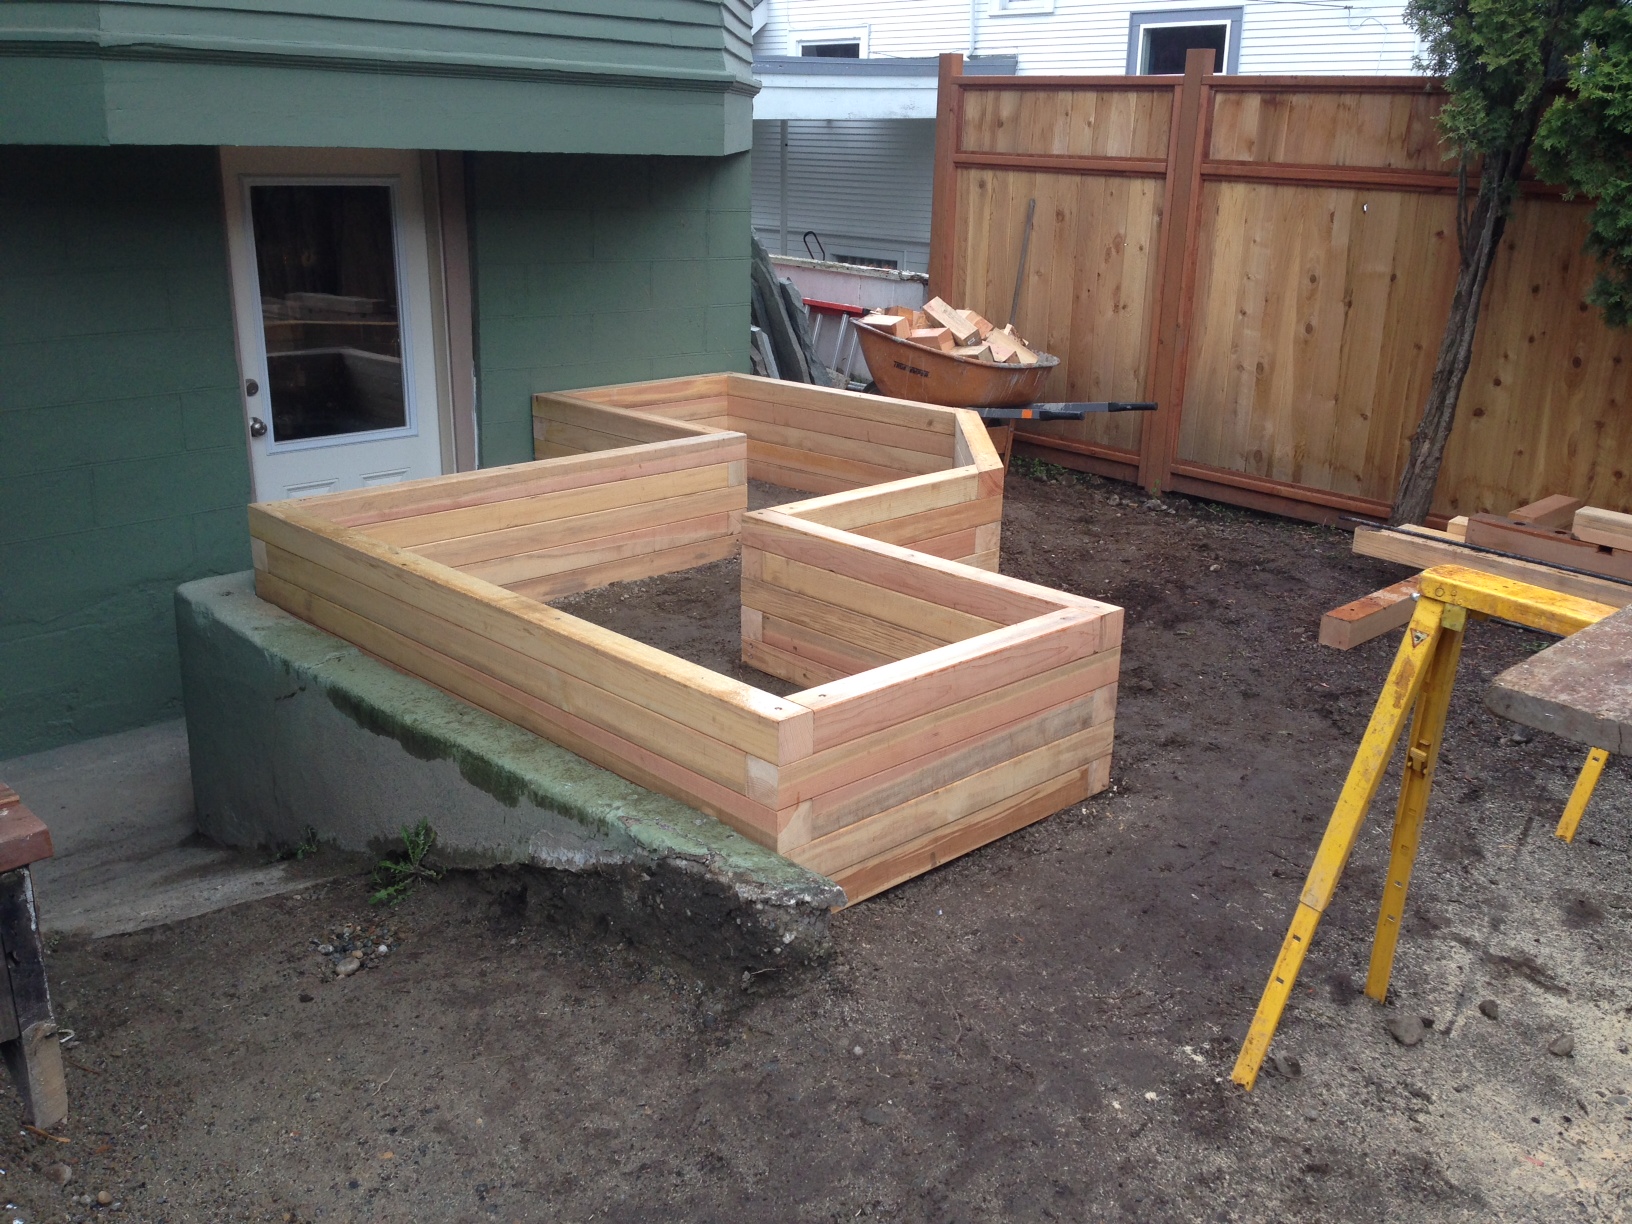
The two cedar planters were designed to be immovable; they’re landmarks at this point. Constructed out of 4×4 stock, they’re each capped with a 2×6 mitered cap to offer the expanded sitting edge.
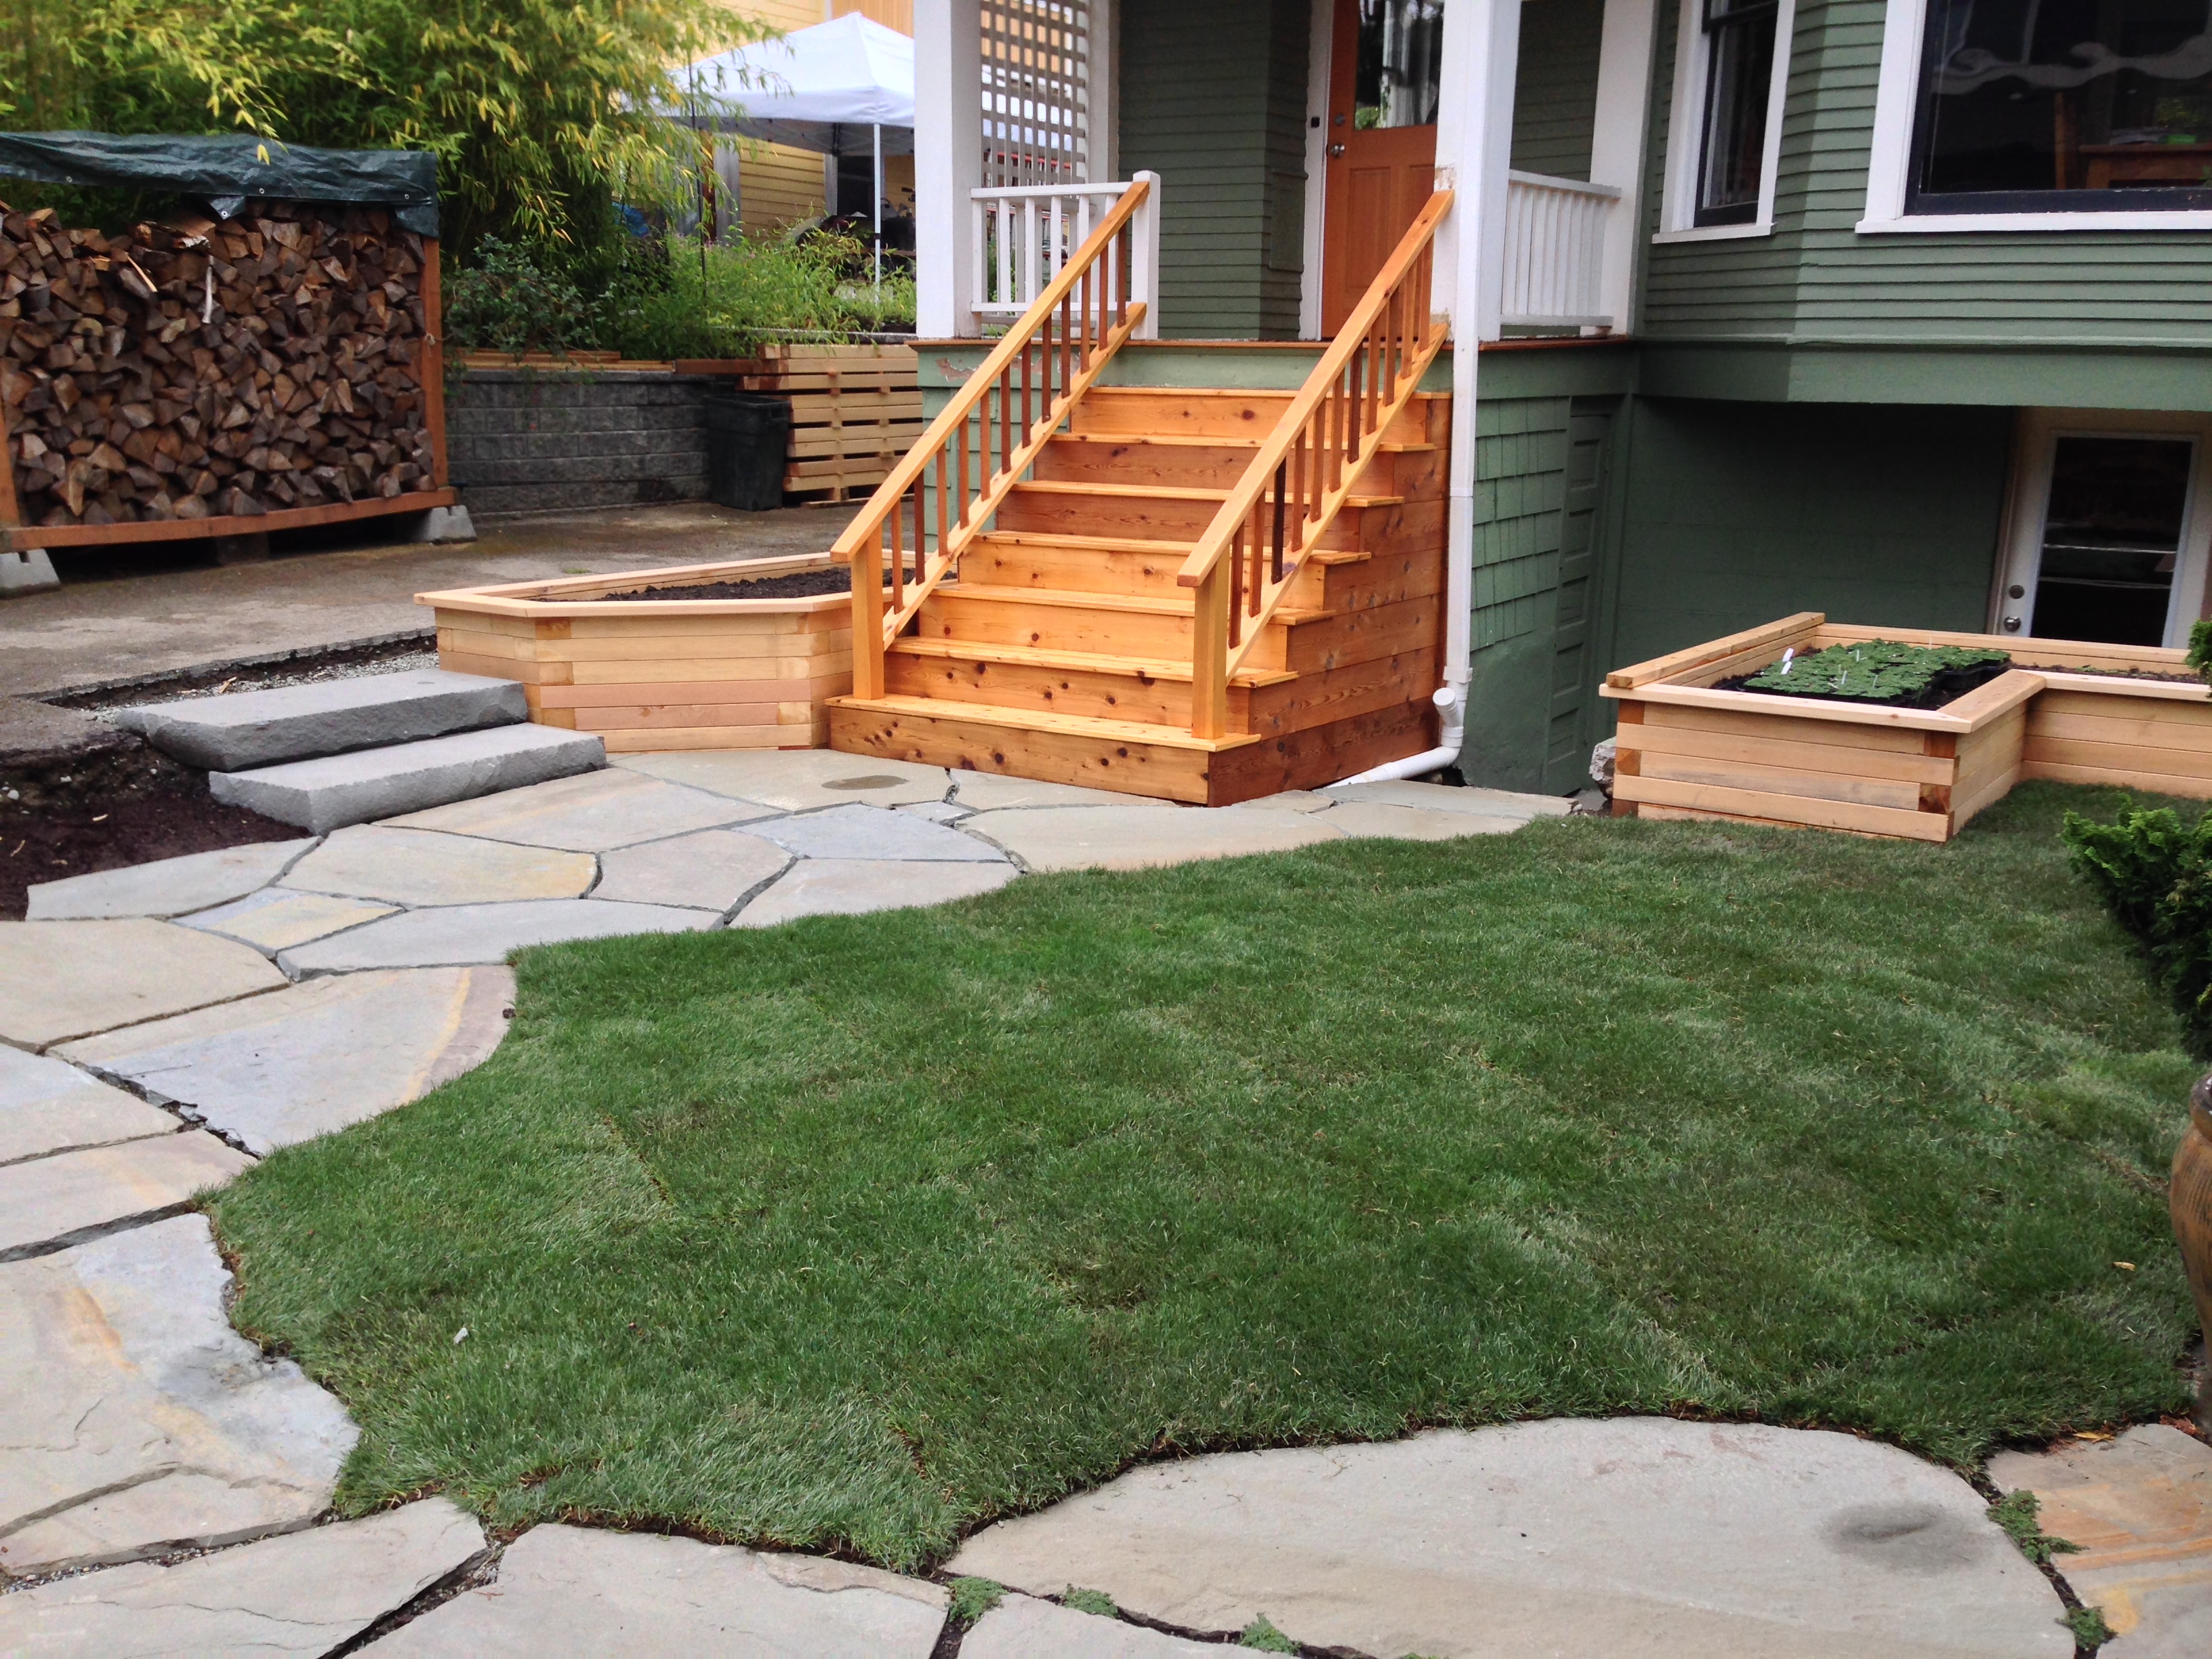
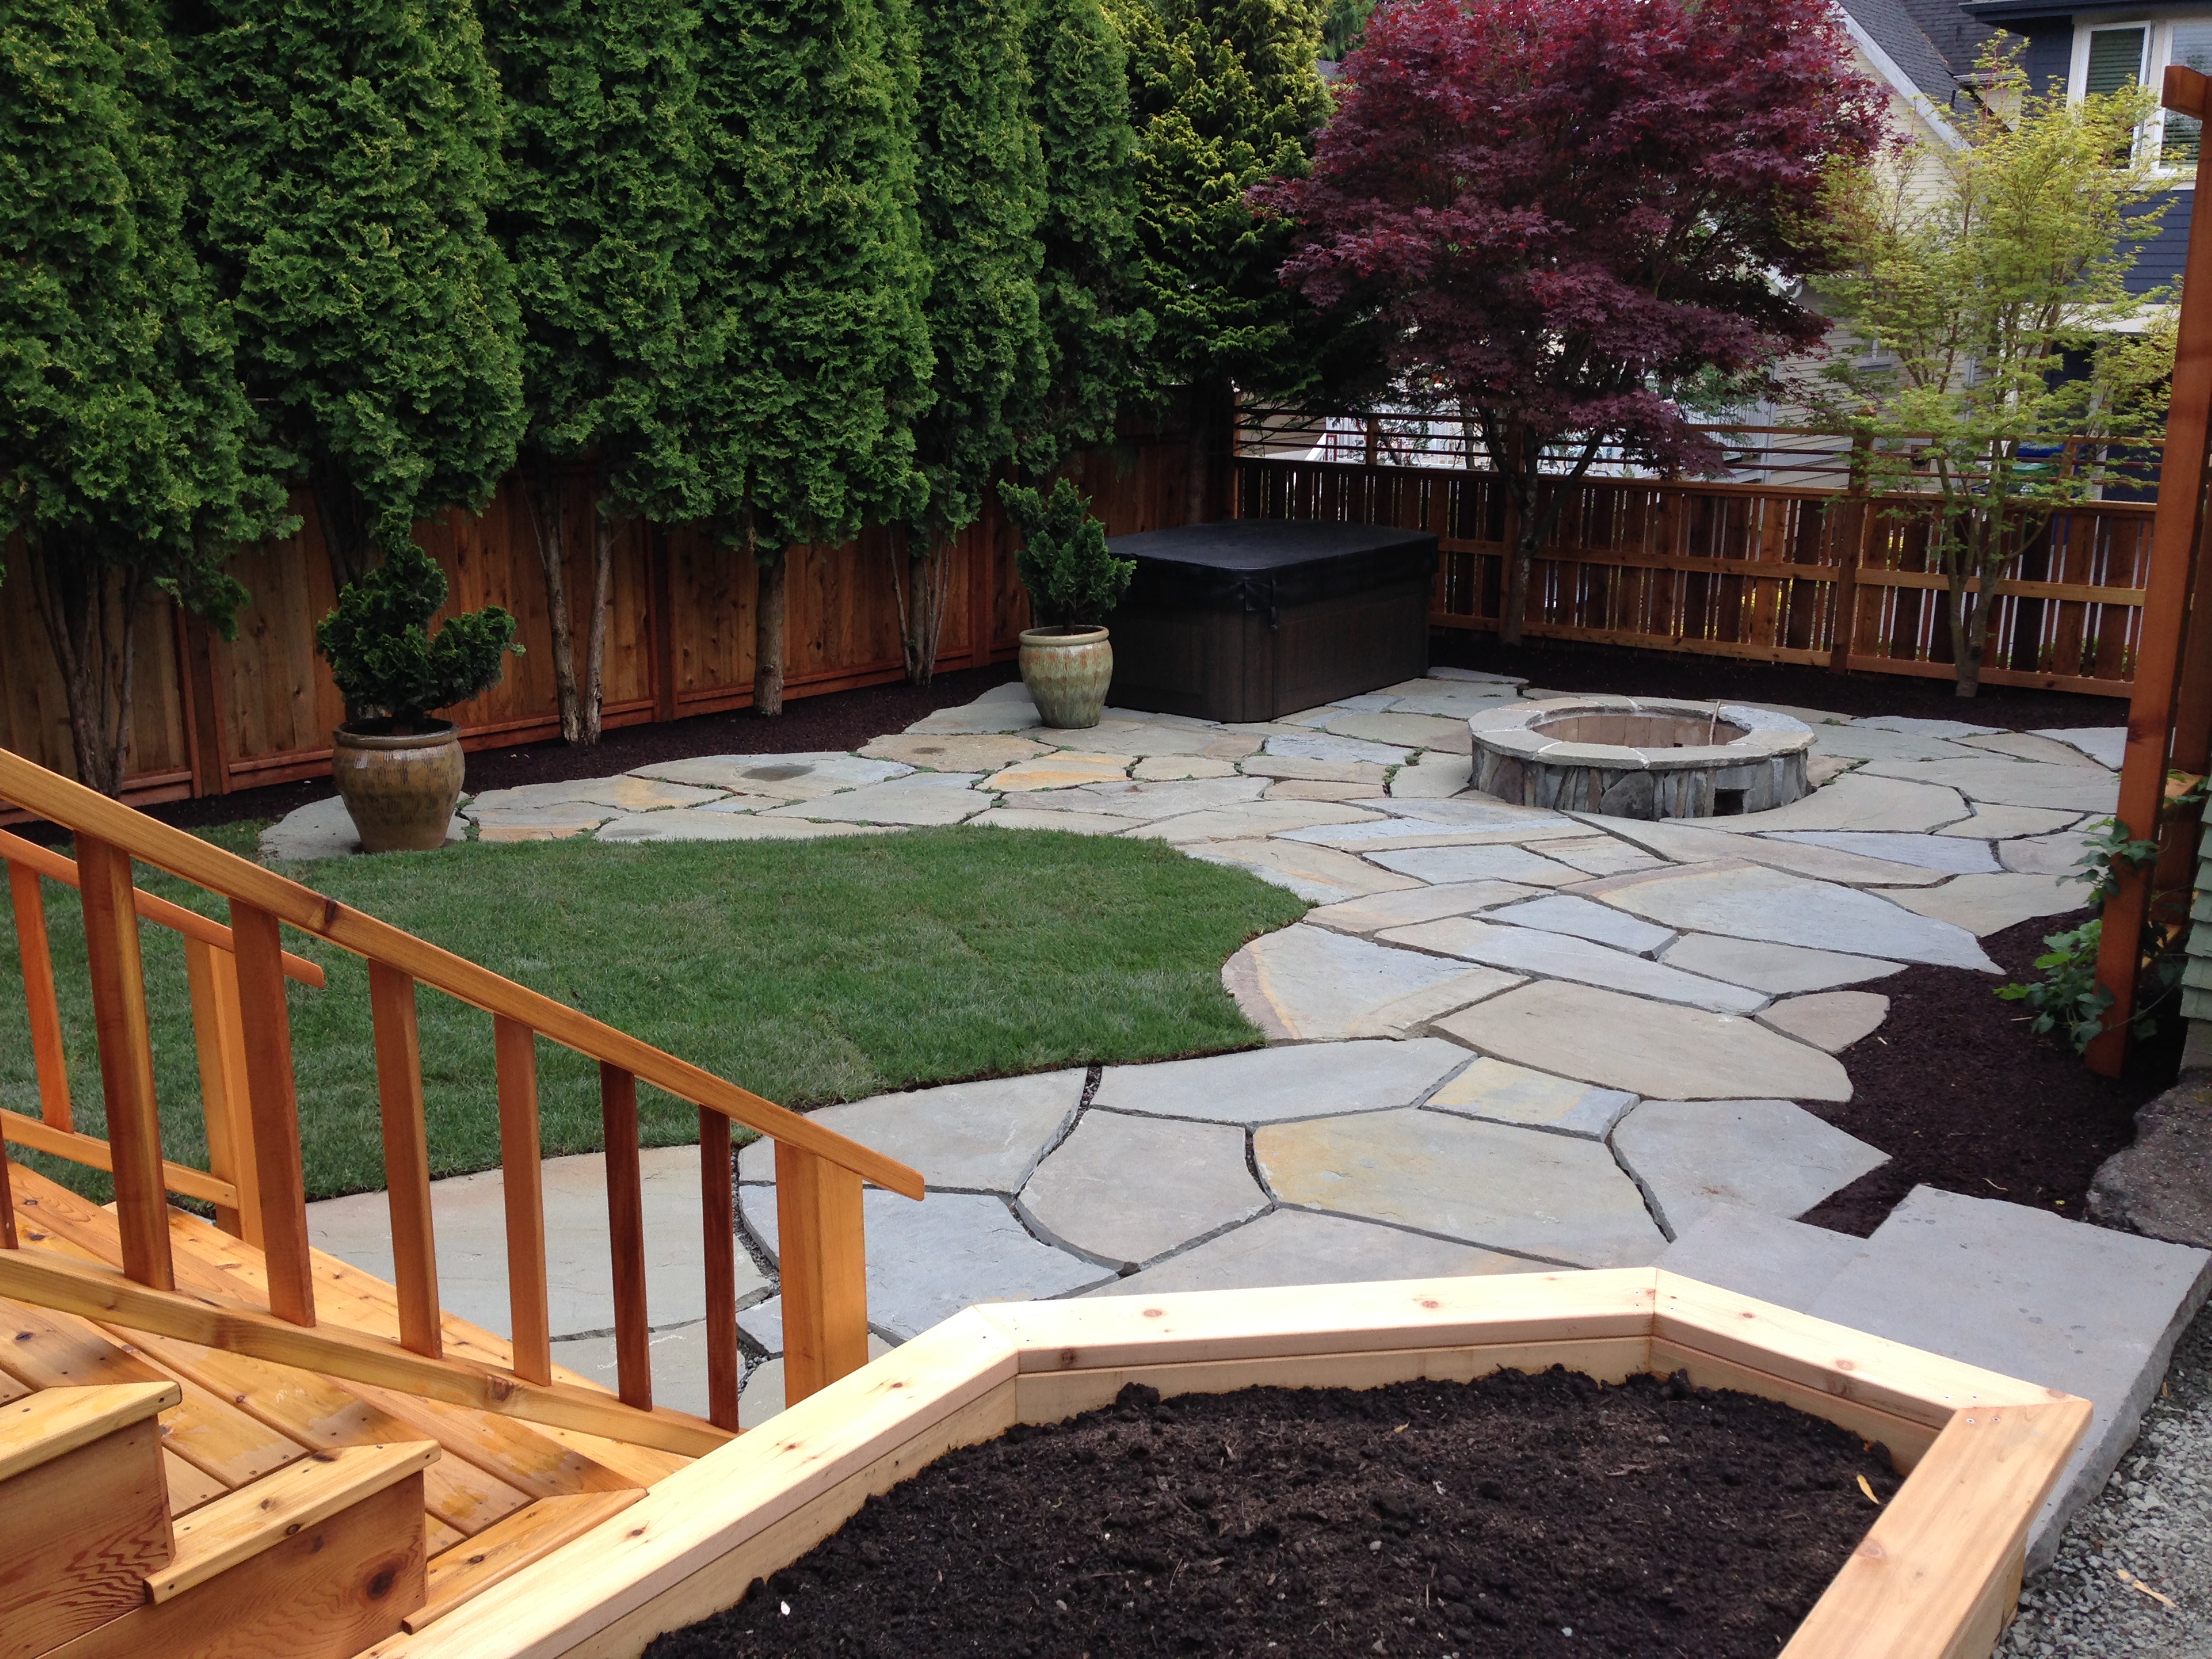
I like the two pics from opposite ends of the yard showing the extent of the remodel.
Just one more image showing the before and after.