Garden Retaining Wall

Project: Install flagstone patio with adjacent retaining wall.

Location: Phinney Ridge

Installation of a flagstone patio and retaining wall. Risers were purchased from Marenakos Rock Center in Issaquah, and garden wall from Pavingstone Supply Co. All 5/8 crushed substrate product is supplied in Ballard using Dirt Exchange.

Each material used was worked extensively using a Ridged angle grinder w/ attached diamond blade, and a team of cold chisels. For cuts on the garden wall blocks, I used a standup paver wet saw. The idea behind installing something made of concrete or stone is to view the product as being both ridged and flexible, because everything is – each in its own way.

Rocks and blocks at 90 degree angles are as a group uncompromising, but individually they have character and seem to exhibit a sense of wanting to conform to space. We chisel away the excess, at Adobe Landscaping Co.


Pennsylvania Bluestone Paver Patio

Project: Pennsylvania bluestone paver patio.

Location: Magnolia

Process: Demo existing concrete – old driveway and shed foundation. Build 600 sq/ft of sidewalk & patio with Pennsylvania Bluestone.

I’ve been humbled and inspired by the elegance and weight of the pavers we’re using on our current installation. The clients decided upon a three sized interlocking paver patio, laid randomly to create a modern, tiled style. We’re using 24″ X 24″, 24″ X 12″, and 12″ X 12″ cut stone, averaging 2″ thickness.

The primary focus on a project like this is grade – laying the pavers can be made infinitely easier by creating the exact base course to lay the pavers on. Once the base is set, it’s no longer a concern and all of your attention goes to style and keeping all the tiles at a level plane.

Moving and setting the largest paver, the 24″ X 24″, can be challenging. I’ve found that a small hooked wrench helps to, when the paver is set incorrectly, lift it up from being flush with the grading. Each paver varies within a margin of +/- 1/4″, so at least half of all pavers have to be cut with a wet saw to keep the lines perfect.

Next week I’ll be finishing up the pavers and planting a hedge and some grass extensions and other landscaping features. Please check back soon to see some photos of the finished product.


Retaining Wall & Patio Parabola

I’m rebuilding a front yard for a client, and in order to generate more usable space, we decided to extend out the available square footage by building up a retaining wall along one side. The wall is an extension of what used to be there, and short rockery constructed by the contractor who built the house.

In the photos you can see the progression of events from the first few courses of the wall to the final, graded and plated look. I’ve repurposed rhododendrons from elsewhere on the property to go in front of the wall to in effect soften the rock face, giving ultimately a kind of peek-a-boo effect of fitted rock behind green branches. Above the rock wall I’ve repurposed azaleas to mirror the rhododendrons below.

Update: I’ve finished the initial retaining wall, built with Lynch Creek basalt quarried here in Washington state, and have moved to grading the upper terrace and installing an arched interlocking paver patio with accompanying polished Huckleberry basalt bench.


Paver Patio


[dropcap type=”circle” color=”#ffffff” background=”#ef7f2c”]I[/dropcap] built an interlocking concrete paver patio a couple of weeks ago. For this project I used a technique with the three paver sizes to create a seemingly randomized pattern, but upon closer inspection is a classic herringbone. It creates a nice effect and a beautiful patio.

Here’s a few pictures from the project…

Timber Framed Pergola Deck with Panel Fence

[dropcap type=”circle” color=”#ffffff” background=”#ef7f2c”]H[/dropcap]ere’s a few pictures of what I’m currently working on – a timber framed, mortise and tenon joined pergola over a cedar deck, with an attached wire panel fence and supported pergola. The posts and beams for the main structure were 6″ X 6″ tight-knot cedar, purchased in Issaquah, WA. As the images show, I used a drill, rasp, and mortising chisel to rough-out and then refine the inverse shapes. The tenon was scored by hand using a circular saw and then finished off with a chisel. The mortise was sculpted using first a large augur bit and then fine-tuning it with the chisel and the rasp. The rasp, in this instance, is a valuable tool – it acts as a rough file, for those who are unfamiliar with the tool. You can run it back and forth along the wood, almost like a very coarse sandpaper, to take flat planes off squarely. Building a project depends in part upon having the right tools to do what you want the product, in this case wood, to do.

The entire project was built using simplistic, modern joinery. The lines are meant to run into each other at perpendicular angles, and are intended to collapse from a 6X6 square beam to a 2X2 trim piece, contrasting the top of the fence’s pergola with the beams.

Each piece of wood received an initial coat of Penofin transparent oil stain. The bottoms of each buried post were stained and then coated with roofing tar where it would make contact with the ground, to keep out the incessant Seattle rain.

Above the deck we installed polycarbonate roofing to allow rain protection while maintaining the northern light into the house’s studio space.

I’m finishing off this coming week with a side Pergola and a paver pathway from the patio around to the deck – we’re also building a garden shed around the back of the house. I’ll update this post with some pictures as we complete the project.

-r

Update (03/10/13): I’ve completed the project and I’ve updated with some final pictures of the paver path, side pergola, and the garden shed. The cedar siding for the garden shed was purchased at the Seattle REStore, thus recycling and reusing a product that may have otherwise been thrown away.


Block Wall Construction

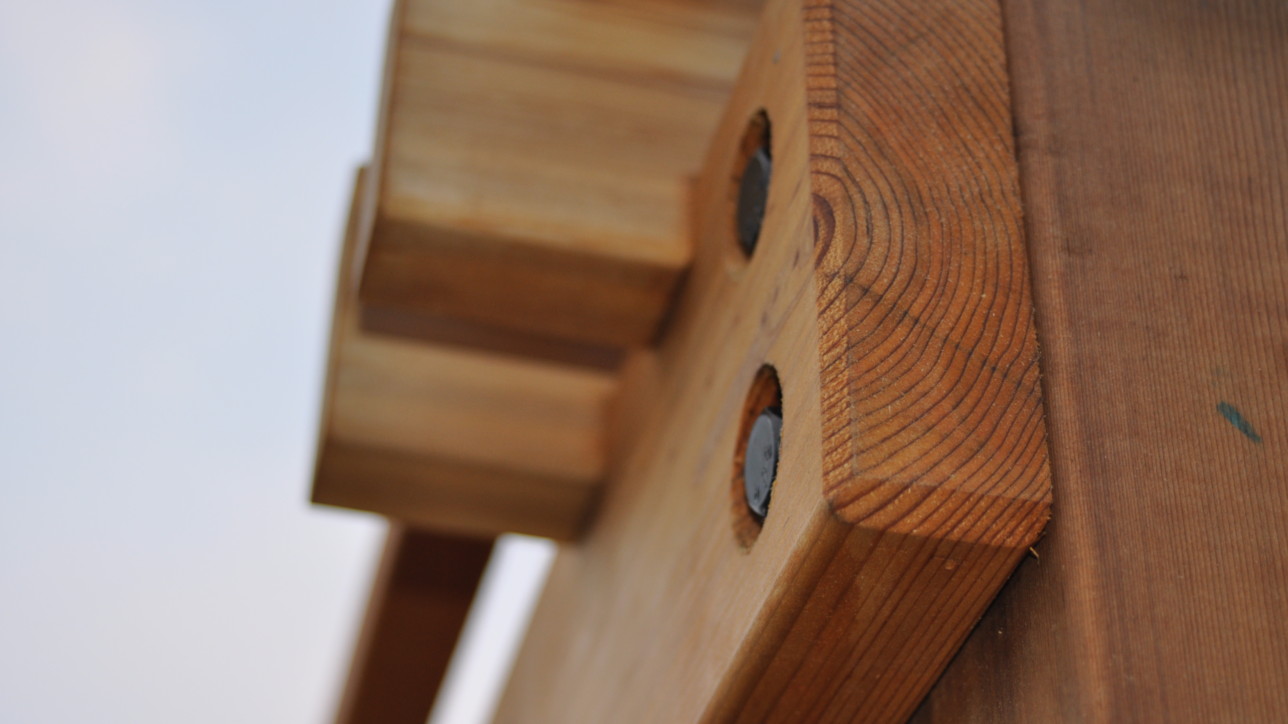
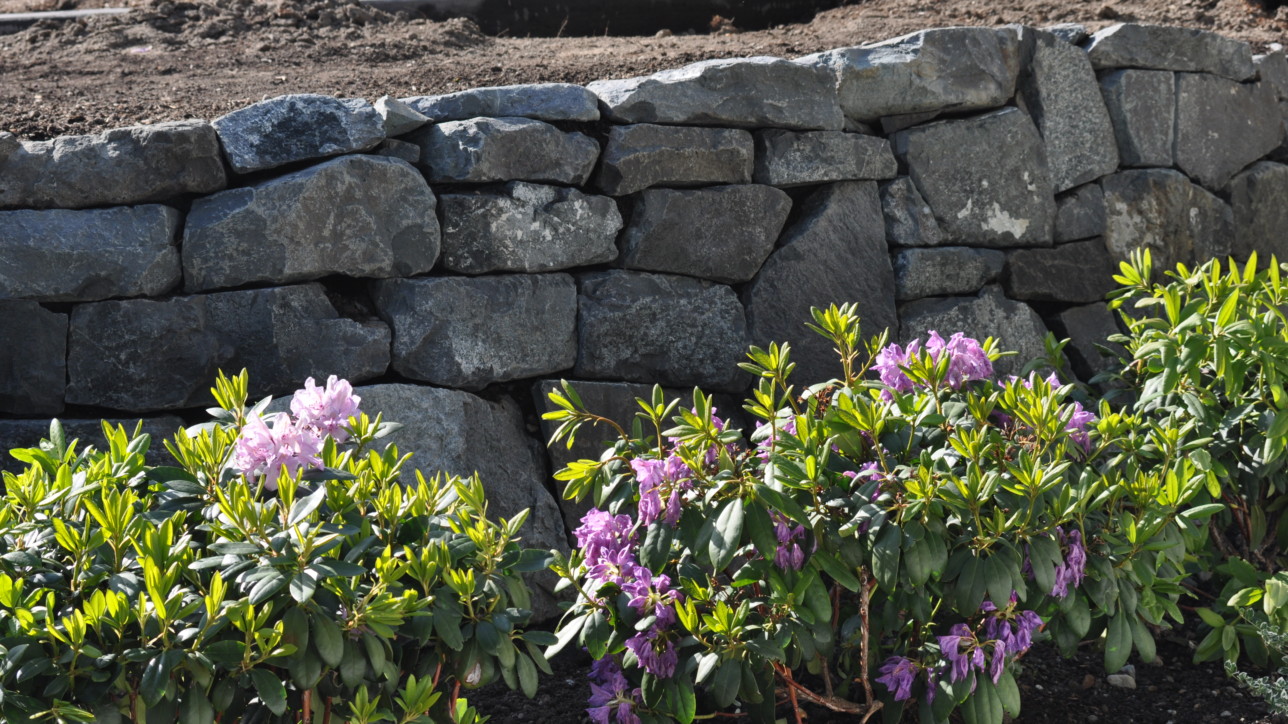
[dropcap type=”circle” color=”#ffffff” background=”#ef7f2c”]J[/dropcap]anuary, during the rain and short days, I constructed a block wall for some clients on Phinney Ridge. The construction of the project took about one month, and consisted of nearly 1000 individual 6″ X 8″ X 12″ blocks. The wall itself was 100′ long, and averaged a height of 40″. It transected a property line between three neighbors, and ran from sidewalk to alley way.

The demolition phase of the project took nearly a week, most of that spent removing the previous wall and some partially rotten cedar stumps.

When the initial demo phase was completed, with a 24″ trench a few inches deep roughed out, I took a transit and set my heights, to know where the steps would have to be located. From lowest point to highest, the wall gains about 3.5 feet of elevation. Meaning, at the furthest, lowest, point of the wall, to the other end, the height of the wall changed from 4 feet to around 18″.

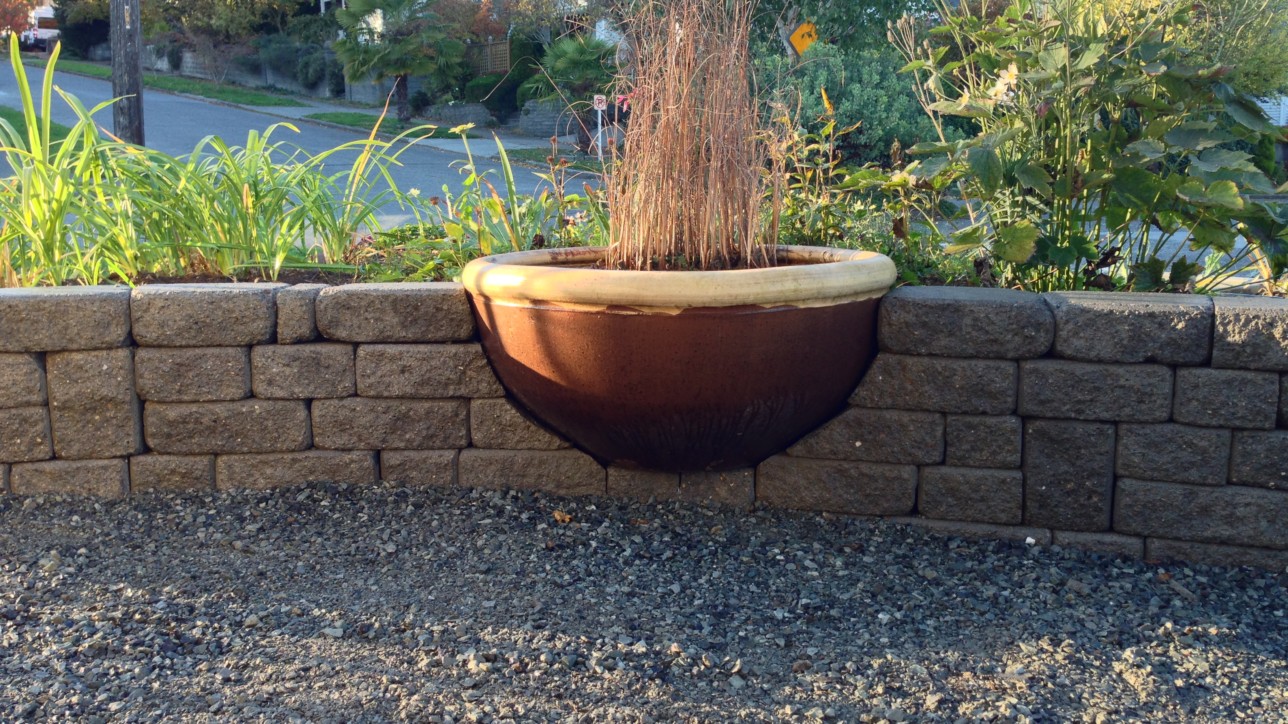
In order to preserve a natural bamboo hedge, the client asked to create a stepped out planting space for it. This also served as to keep the root zone further off the neighbors property. The finished effect looks like we’ve created a finished planter for the bamboo, and really accentuates the beauty of this leafy hedge.

The top is capped with a 3″ X 24″ X 12″ ridge cap, and mitered on all the corners with but joints at the ends.

The manufacturer of the block is Mutual Materials, and the variety is Pisa II. They offer a wide selection of decorative block and paver products and sell a very quality product at an affordable price. My friends down at Pavingstone Supply Co. in Ballard carry their products – and they’re open to the public so that clients can browse their extensive natural and concrete products.

All things considered, it was a pleasant and cathartic way to spend a mid-winter in Seattle. I spent my days in a kind of meditation, listening to podcasts and the audio version of Les Miserables while schlepping nearly a thousand blocks from their individual pallets to the wall. Tapping each one, adjusting, checking, leveling, checking, grinding, checking. There is something about building a wall that makes you feel alive – and this one was no exception.

Thanks for reading, I’ll try to update soon with some more shots of recent work.

Cheers,

-Reese Zollinger


DESIGN FROM ADOBE

We welcome you to contact us for more information
about any of our products or services.